How to Install Solar Pathway Lights for Maximum Brightness
How to Install Solar Pathway Lights for Maximum Brightness
Installing landscape lighting increases home security and path visibility. Solar fixtures provide an easy DIY project without requiring complicated electrical wiring or ongoing utility fees.
Step 1: Map Out Placement and Spacing
!Step 1: Map Out Placement and Spacing
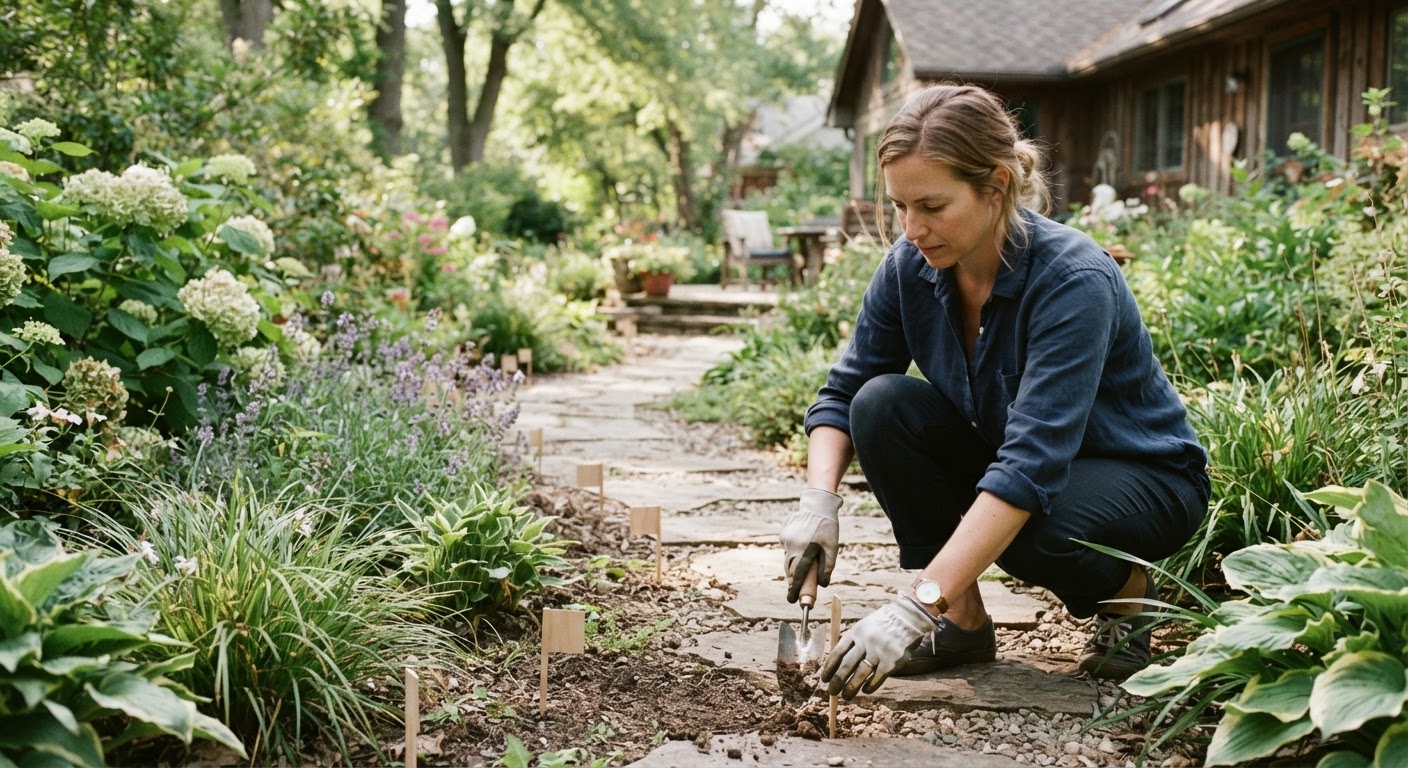
Before inserting stakes into the ground, measure your garden path. To avoid harsh glare while maintaining smooth light coverage, keep a spacing distance of 6-8 feet between each light. Consult the main guide for additional placement strategies along curved walkways.
Step 2: Prepare Soil and Set Stake Depth
!Step 2: Prepare Soil and Set Stake Depth

Moisten dry soil with water to prevent breaking fixtures during insertion. Push the ABS Plastic stake into the earth until reaching a stake depth of 4-6 inches. This depth stabilizes the light fixture against wind, rain, and lawn maintenance equipment.
Step 3: Activate Automatic On and Off Sensor
Locate the pull-tab or switch beneath the light cap to activate the battery connection. Once turned on, the automatic on and off sensor handles operation by detecting dusk and dawn light levels automatically.
Step 4: Allow Initial Solar Charge
Position lights where they receive direct sunlight. Allow a full solar charging hours span of 6-8 hours before expecting a complete battery run time of 8-10 hours during night hours.
Read the full guide: Complete Guide to Choosing and Installing Waterproof Solar Pathway Lights