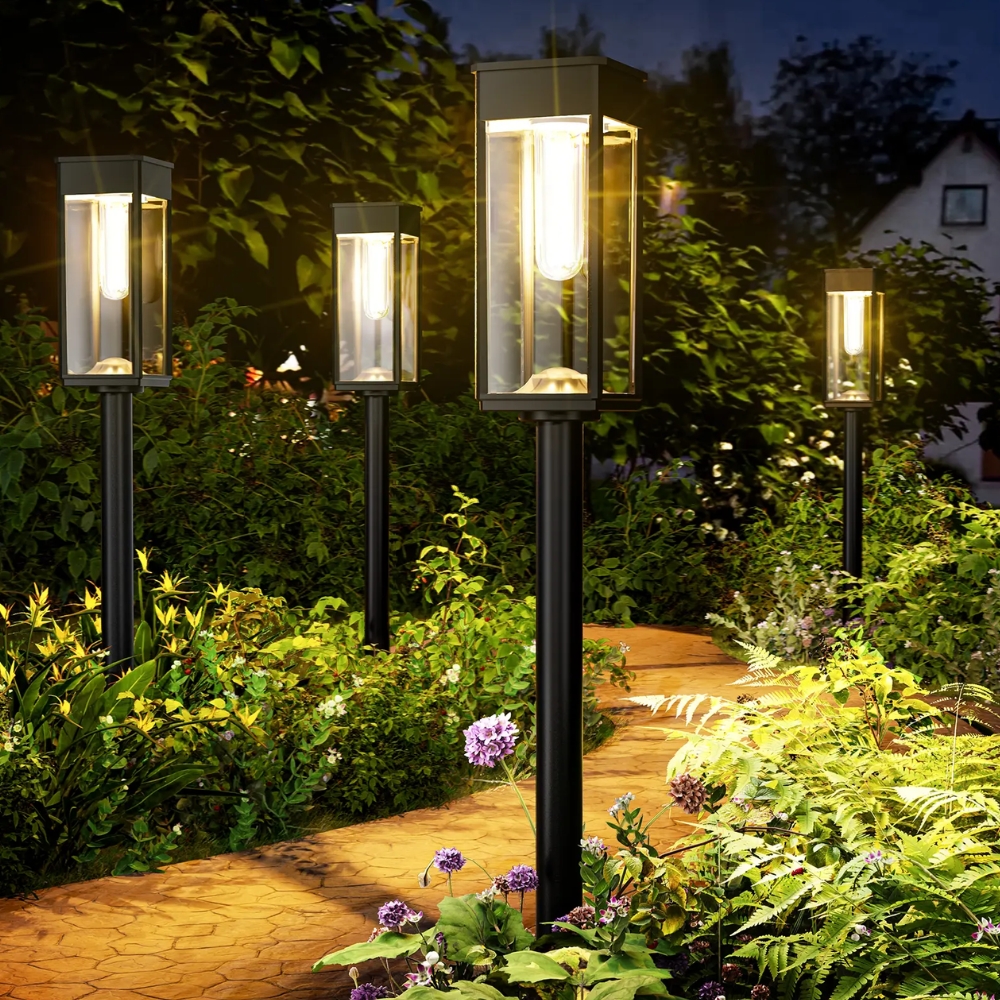
The Complete Guide to Solar Garden Pathway Lighting

Solar pathway lights turn a dark, uneven walkway into something safe and genuinely beautiful — with no wiring, no trenching, and no addition to your power bill. But they've also earned a reputation for dying after one season, dimming in winter, and never quite matching the photos on the box.
This guide is the honest version. We've installed and tested pathway lights through full Canadian winters, and below we cover what actually determines whether a set lasts years or weeks — plus how to plan, buy, install, and maintain them.
Use the sections below to jump to what you need.
How solar pathway lights work
Every solar path light is four parts: a panel that captures daylight, a rechargeable battery that stores it, an LED that emits light, and a light sensor that switches everything on at dusk. Runtime depends far more on battery quality and panel size than on the LED itself.
→ Read the full breakdown: How Solar Pathway Lights Work
Planning your layout
Spacing is the single biggest driver of how a lit path looks. Too far apart and you get "landing strip" dark gaps; too close and you waste lights. The general rule is [SPACING RANGE, e.g. 6–8 ft] apart, adjusted for the beam spread of your specific light.
→ Full layout method with diagrams: How to Space and Lay Out Pathway Lights
Choosing: solar vs. wired
Solar wins on cost and install effort; wired (low-voltage) wins on consistent brightness and cold-weather reliability. Which is right depends on your climate, your path length, and how much you'll tolerate a dimmer night after a cloudy day.
→ Honest comparison: Solar vs. Wired Pathway Lighting
What to look for when buying
The specs that predict longevity are battery chemistry and capacity, panel size, and the IP (waterproof) rating — not the marketing lumen number on the front of the box.
→ Spec-by-spec buying guide: What to Look For in Solar Pathway Lights
Cold-climate and low-sun performance
Solar lights don't fail in winter because of the cold itself — they fail because of short days, low sun angle, and snow covering the panels. The fix is the right battery chemistry and a smart placement plan.
→ Best options for winter and shade: Best Solar Pathway Lights for Winter and Shade
Installation
A full path can be installed in about 10 minutes with no tools beyond your hands — if the ground is workable and you've charged the lights first.
→ Step-by-step: Install Solar Pathway Lights in 10 Minutes
Common questions
Winter runtime, waterproofing, battery replacement, and cloudy-day behavior — answered.
---
Why trust this guide
We sell solar pathway lights, so treat this as informed but interested. What we can offer that a generic listicle can't: our lights are tested outdoors through real seasons, the specs we publish are measured rather than repeated from a supplier sheet, and our returns and warranty terms are stated plainly on every product page. If a claim here isn't backed by testing, we say so.
Written by [AUTHOR NAME], [ROLE] at Garden Pathway Lights. Last updated [DATE].
