Why Are My Solar Pathway Lights Dim? 5 Quick Maintenance Fixes

August 3, 2026☕ 10 min read

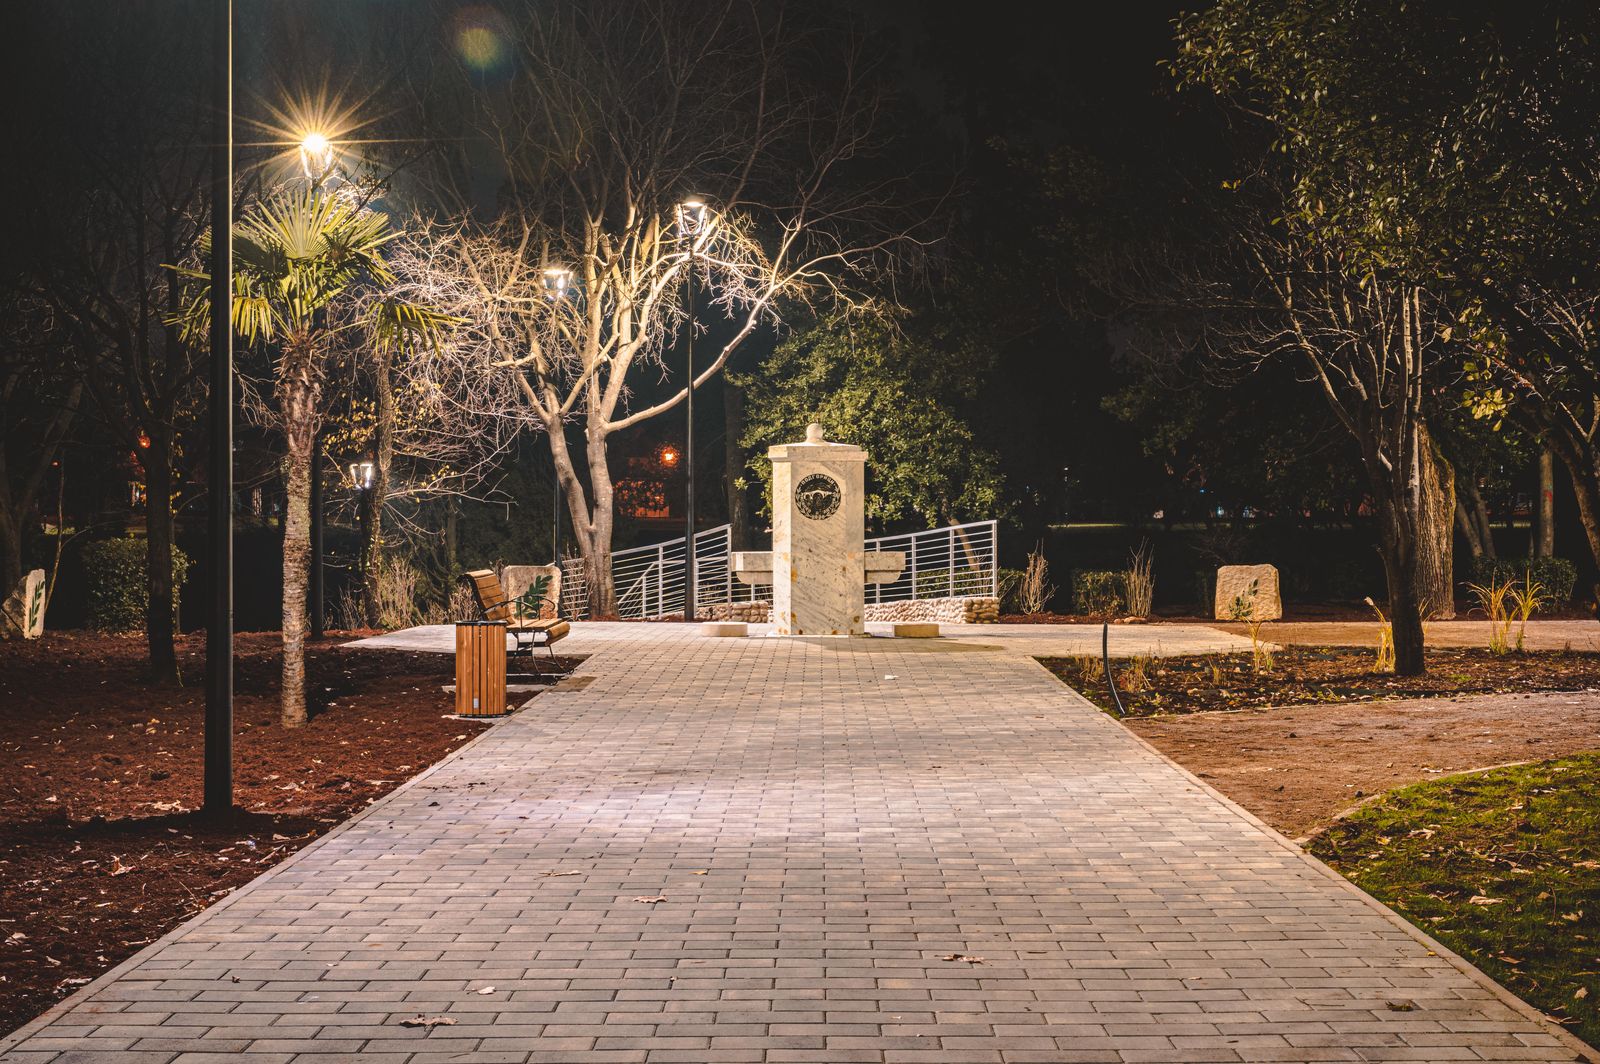
You step outside on a calm evening, eager to admire your garden illuminated by a warm, welcoming glow, only to find your solar pathway lights sputtering with a faint, ghostly whisper of illumination. Instead of bright, inviting walkways, you are left with lackluster flickers that barely light up your steps.

If you are wondering why are solar pathway lights dim, take heart: faint outdoor lights rarely mean your fixtures are headed for the trash. In most cases, a solar light that has lost its lustre is simply suffering from dirty optics, an exhausted battery, or a subtle change in garden shade. With a few simple maintenance routines that take under ten minutes, you can easily revive your walkway lights and bring back that radiant nighttime glow.

In this troubleshooting guide, we will break down exactly how solar pathway lights operate, explore the top five root causes of dimness, and walk through simple DIY steps to make them shine brightly again.

---

Understanding Why Solar Pathway Lights Lose Their Brightness

To troubleshoot a dim fixture effectively, it helps to understand the energy chain powering your garden lights.

How Solar Pathway Lights Generate and Store Power

Every solar pathway light relies on a continuous three-stage energy loop:
  • Absorption: During daylight hours, the solar panel mounted on top converts ambient sunlight into direct current (DC) electricity.
  • Storage: That electrical current is routed into an internal rechargeable battery (typically Nickel-Metal Hydride, or NiMH).
  • Illumination: At dusk, an integrated photo-sensor detects the drop in ambient light, triggering the circuit to pull stored power from the battery and energize the LED bulb.
  • The Common Root Causes of Dimness

    When a light outputs a weak glow or dies after just an hour or two, a breakdown has occurred in one of these three stages. The most common reasons include: ---

    Fix 1: Deep Clean Dust, Dirt, and Debris Off Solar Panels

    How Grime Blocks Sunlight Absorption

    Because solar pathway lights sit close to the ground, they are constant targets for kicked-up dirt, lawnmower debris, pollen, bird droppings, and hard water spots. Over time, a subtle film builds up across the protective plastic or glass coating of the solar cell. Studies show that a heavy accumulation of dust and pollen can reduce energy conversion by up to 25% to 30%. When the panel cannot absorb daylight, the battery only charges to a fraction of its capacity.

    For an in-depth look at optimal cleaning routines, check out our dedicated guide on cleaning your solar pathway light panels.

    Step-by-Step Panel Cleaning Technique

    Cleaning your solar panels is fast and requires basic household supplies:
  • Mix a Gentle Cleaning Solution: Combine warm water with a few drops of mild liquid dish soap in a bucket or spray bottle.
  • Wipe Down the Surface: Use a soft microfiber cloth or sponge to gently scrub away grime. Avoid abrasive scouring pads or harsh chemical sprays, as surface scratches permanently diminish panel efficiency.
  • Rinse and Dry: Rinse with clean water and buff dry with a microfiber towel to prevent hard water spots from forming.
  • ---

    Fix 2: Inspect and Replace Aging Rechargeable Batteries

    Signs Your NiMH Solar Battery Is Degrading

    Even under ideal conditions, rechargeable solar batteries do not last forever. Standard NiMH batteries engineered for outdoor lighting generally maintain peak performance for approximately 500 charge cycles—roughly 1 to 2 years of daily outdoor use.

    As batteries age, their chemistry breaks down. An aging battery may report a full voltage reading immediately after charging, but under the load of the LED, its power drops rapidly within an hour after sunset. To keep your system running smoothly, consult our complete solar light battery care guide.

    How to Correctly Replace and Refresh Batteries

  • Access the Compartment: Unscrew the top cap or bottom housing of the solar fixture to reveal the battery compartment.
  • Inspect for Physical Wear: Look for swelling, leaking fluid, or white powdery corrosion on the battery terminals.
  • Install Fresh Rechargeables: Swap out the old cell with a new rechargeable NiMH battery matching the exact milliamp-hour (mAh) capacity and voltage specified by the manufacturer.
  • Note: Never place standard non-rechargeable alkaline batteries in a solar fixture; doing so will cause severe corrosion and risk damaging the circuit board.

    ---

    Fix 3: Re-angle Fixtures and Clear Overhead Shade

    Seasonal Sunlight Shift and Shading Issues

    A solar pathway light that shined brilliantly during summer might struggle when autumn arrives. As the sun moves lower across the southern horizon in winter, shadows cast by roof eaves, fences, and evergreen trees stretch farther across your yard.

    Furthermore, summer garden growth—such as tall perennial grass or blossoming bushes—can gradually envelope low-profile stakes. If you suspect your layout needs adjustment, review our tips on placing solar pathway lights in shaded gardens.

    Finding the Optimal Unobstructed Direct Sun Location

    Most standard solar pathway fixtures require 6 to 8 hours of direct, unshaded sunlight each day to deliver 8 to 10 hours of bright illumination at night. ---

    Fix 4: Remove Internal Moisture and Clean Corrosion

    How Water Intrusion Causes Electrical Resistance

    Outdoor landscape lights face extreme weather—from scorching summer heat to heavy spring rain downpours. If a fixture lacks proper waterproof sealing or tight rubber gaskets, moisture slowly seeps into the housing. Condensation collects on battery contacts, causing white rust and oxidation. This buildup introduces high electrical resistance, cutting off voltage supply to the LED and turning bright light into a dim flicker.

    If you regularly spot condensation inside your light lens, read our detailed guide on dealing with moisture inside solar light housing).

    Drying Out the Housing and Sanding Battery Contacts

  • Disassemble the Fixture: Open the light head and remove the rechargeable battery.
  • Dry Thoroughly: Wipe away moisture using a paper towel or let the internal electronics air-dry indoors in a warm area overnight.
  • Clean the Terminals: Use fine-grit sandpaper (400-grit) or a piece of steel wool to gently scrape away crusty corrosion on the metal battery springs and contact points until bare metal shows.
  • Apply Dielectric Grease: Apply a thin dab of electrical dielectric grease to the terminals to inhibit future moisture damage.
  • ---

    Fix 5: Clear Obstructions Around the Automatic Dusk-to-Dawn Sensor

    How Light Interference Triggers Dimming

    Modern solar pathway lights feature automatic optical sensors (photocells) that measure ambient light levels. When daylight fades, the light powers on. However, if your pathway lights are installed near bright porch lights, streetlamps, or security floodlights, those exterior light sources trick the sensor into believing it is still twilight. The internal circuit may restrict current output or pulse rapidly, making the LED appear extremely dim.

    Testing the Sensor in Total Darkness

    To determine whether ambient light interference is causing your dimness issue:
  • Wait until dark.
  • Cover the solar panel/sensor completely with a thick dark cloth or your palm.
  • If the LED instantly pops to full brightness, external ambient light is confusing the sensor.
  • Fix: Reposition the pathway lights further away from intense exterior lamps or re-angle the sensor tops.
  • If your fixtures remain completely dark during this test, refer to our troubleshooting checklist for troubleshooting lights that fail to turn on completely.

    ---

    Quick Maintenance Reference & DIY Supplies

    To make troubleshooting as simple as possible, use these quick reference guides when servicing your garden lighting.

    5-Step Quick Maintenance Checklist for Solar Pathway Lights

  • Wipe Solar Panels: Remove surface dirt, dust, and pollen with warm soapy water.
  • Check Sunlight Path: Ensure fixtures receive 6–8 hours of unobstructed direct sun.
  • Test/Replace Batteries: Swap out NiMH batteries older than 18–24 months.
  • Scrape Off Rust: Sand corroded metal contacts inside the battery tray.
  • Check Ambient Light: Ensure streetlights and porch lights aren't blinding the sensor.
  • Essential DIY Supplies for Cleaning and Refreshing Solar Lights

    Troubleshooting Matrix: Symptom, Likely Cause, and 5-Minute Fix

    | Symptom | Likely Cause | 5-Minute Fix | | :--- | :--- | :--- | | Light turns on but is extremely faint | Clouded solar panel resin or low battery charge | Clean panel with microfiber cloth; charge in direct sun for 8 hours | | Light starts bright but turns off after 1–2 hours | Degraded NiMH battery unable to hold energy | Replace with fresh rechargeable NiMH battery | | LED flickers continuously at dusk | External light interference or corroded battery terminals | Move away from ambient streetlights; sand off battery spring rust | | Fog or visible droplets inside clear lens | Poor waterproof seal causing internal moisture | Disassemble, dry internal housing, apply dielectric grease to contacts |

    ---

    When Maintenance Isn't Enough: Upgrading to Fully Waterproof Solar Lights

    Signs It Is Time to Replace Old Fixtures

    While routine cleaning and battery replacements fix 90% of dim solar light issues, older fixtures eventually reach the end of their usable lifecycle. It is time to retire your old path lights if you notice: When structural weather damage takes over, spending money on replacement batteries offers diminishing returns.

    Why Modern Waterproof Multi-Packs Provide Long-Lasting Brightness

    When you are ready to upgrade, choosing high-quality, modern path lights saves time and guarantees superior nighttime illumination.

    Instead of dealing with delicate seasonal lights that collect moisture, consider upgrading to our Waterproof Solar Garden Pathway Lights with Automatic On and Off (Pack).

    Designed specifically for homeowners seeking eco-friendly, low-maintenance landscape solutions, these modern lights feature:

    By replacing tired, moisture-damaged units with dependable, high-performance waterproof packs, you eliminate annoying flicker issues and enjoy beautiful, reliable landscape lighting night after night.

    Ready to shop?

    Discover our products and find the perfect fit for you.

    Shop now →