
How Dusk-to-Dawn Solar Pathway Lights Work: The Complete Technology Guide
A 10-lux ambient threshold is the rule of thumb that activates dusk-to-dawn solar pathway lights. During daylight, photovoltaic cells charge an internal battery (1.2V Ni-MH or 3.2V LiFePO4). When twilight drops ambient brightness below 10 lux, panel voltage falls below 0.5V, triggering an automatic circuit switch that routes stored energy to illuminate the LED.
Core Takeaways: Energy Transfer & Sensor Logic
- 10-Lux Trigger Threshold: Photocell sensors or panel voltage drops initiate automatic night activation as twilight falls below 10 lux.
- Closed Charging Loop: Photovoltaic panels output 2.0V to 5.5V in direct sunlight, charging internal batteries while keeping the LED power switch open.
- Automatic Circuit Switching: Dropping solar panel voltage (<0.5V DC) acts as an automatic switch, triggering the circuit board to discharge battery power into the LED engine.
- All-Weather Battery Storage: 600mAh to 1500mAh rechargeable batteries store daylight energy to power pathway fixtures for 8 to 12 hours continuous runtime.
Standard Electrical & Sensor Performance Specifications
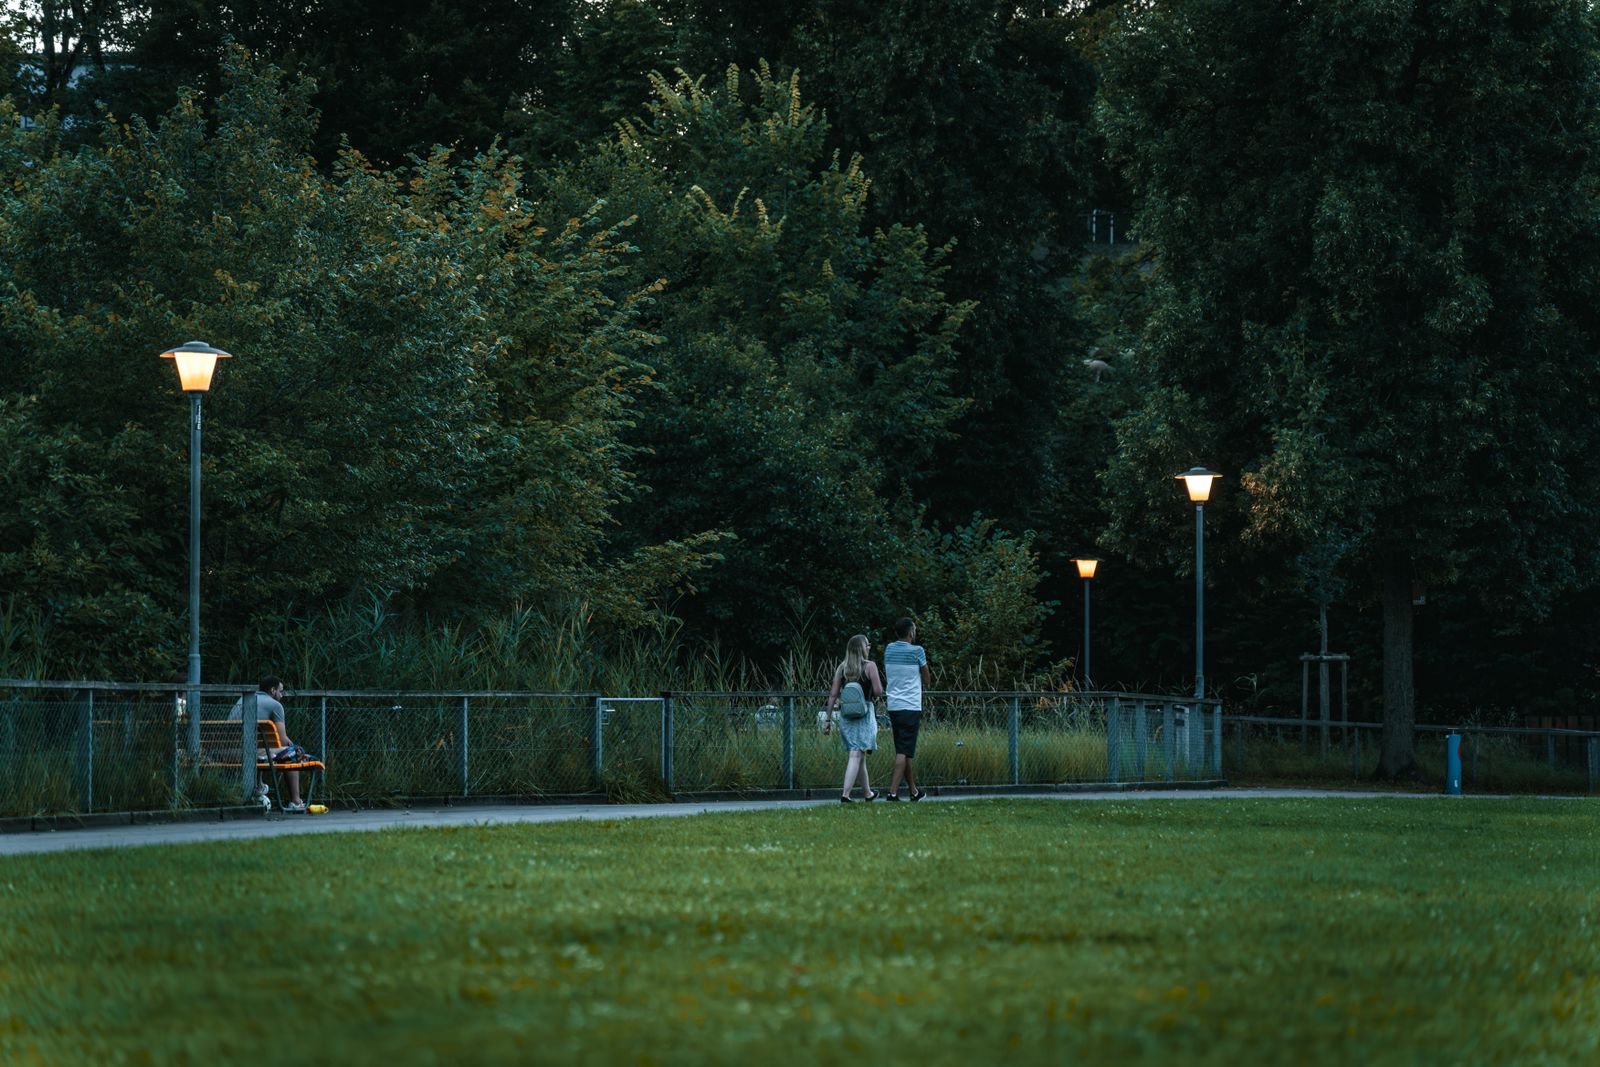
Photo by Baran Robin on Pexels
| Technical Parameter | Standard Specification | Operational Significance |
| --- | --- | --- |
| Activation Lux Threshold | 8 - 12 Lux | Triggers automatic switch circuit when natural light drops to twilight |
| Panel Voltage Output (Full Sun) | 2.0V - 5.5V DC | Generates sufficient current to charge internal battery while forcing switch open |
| Panel Voltage Cutoff (Dusk) | < 0.5V DC | Signals the printed circuit board (PCB) that dark conditions are present |
| Battery Storage Capacity | 600mAh - 1500mAh | Sustains 8 to 12 hours of uninterrupted nighttime pathway illumination |
| Solar Conversion Efficiency | 17% - 22% | Monocrystalline panel efficiency rating under direct solar radiation |
| Operating Temperature Range | -4°F to 140°F (-20°C to 60°C) | Maintains battery chemical reaction and sensor accuracy across seasons |
Key electrical parameters and activation metrics governing modern automatic solar pathway lighting fixtures.
Anatomy & Internal Energy Flow Visualized
Understanding the internal architecture of an automatic solar pathway fixture reveals how physical components interact without exterior wiring.
Expert Calibration Tip for Ambient Light Interference
When positioning automatic pathway lights near residential floodlights or streetlights, ensure ambient glare across the top solar lens remains below 5 lux at night. If ambient streetlight spillover exceeds 10 lux, the internal photoresistor or voltage-sensing circuit will detect false daylight and prevent the LED from igniting. Position fixtures at least 10 feet away from high-intensity porch lights or turn the solar cap away from direct artificial glare.
Initial Installation Audit Actions
Your decision: Determine whether your garden path receives sufficient unobstructed direct sunlight (minimum 4 hours) and maintains natural ambient darkness below 10 lux at night.
Do this next: Audit your garden walkway for ambient light interference and clean solar panels to ensure clear voltage drops at twilight.
- Read next: Optimal Placement Guide: Positioning Automatic Solar Lights for Best Sensor Performance
Waterproof Solar Garden Pathway Lights with Automatic On and Off (Pack)
Follow these practical steps to verify your location is optimized for automatic sensor operation before full stake installation.
Selecting the Right Automatic Sensor Mechanism
Choose between Photovoltaic (PV) Panel Voltage Sensing and Dedicated Photoresistor (LDR) Sensors based on your pathway's exposure to artificial night glare.
Best choice for
- Photovoltaic Panel Voltage Sensing — Uses the solar cell itself as the dark detector, eliminating extra components and improving overall weather sealing.
- Dedicated Photoresistor (LDR) with Optical Shielding — Allows finer lux calibration so ambient light pollution over 10 lux does not prevent automatic night activation.
- Installing directly under a continuously powered 100W porch light or high-pressure sodium streetlight that maintains ambient light above 15 lux all night.
- Dual-Mode Motion-Sensing Solar Lights — Stays on dim standby (10% lumen output) at dusk and jumps to 100% output when motion is detected, preserving battery life in low-sun regions.
Recommended Waterproof Automatic Solar Pathway Lights
For reliable automatic lighting that withstands rain, snow, and severe weather, choose engineered, fully sealed solar pathway fixtures.
To understand how automatic solar pathway lights operate year-round without external wires or manual switches, we must break down the three fundamental sub-systems inside every modern fixture: the photovoltaic harvesting unit, the chemical storage cell, and the logic switch control circuit.
1. Photovoltaic Conversion and Photon Absorptions
Every automatic solar pathway fixture starts with a photovoltaic (PV) panel, typically mounted on the top flat or angled cap. Modern high-performance pathway lights utilize monocrystalline silicon panels, which deliver solar conversion efficiencies between 17% and 22%.When sunlight hits the silicon wafer, photons strike silicon atoms, knocking electrons free. These free electrons are forced in a single direction by an internal electrical field built into the silicon cell layers, producing Direct Current (DC) electricity. Under full 100,000-lux daylight, a standard pathway panel generates between 2.0V and 5.5V DC, depending on surface area and cell configuration.
2. Charge Control and Battery Storage Chemistry
Electrical current produced by the solar panel flows down internal copper wiring toward a rechargeable battery stored inside the housing cap. The standard power storage units in residential pathway fixtures are either 1.2V Nickel-Metal Hydride (Ni-MH) cells or 3.2V Lithium Iron Phosphate (LiFePO4) cells.To manage this transfer safely, the circuit board includes a Schottky blocking diode or an integrated charge-controller chip. This component serves two vital roles:
- Forward Conduction: When panel voltage exceeds battery voltage (e.g., panel producing 3.5V vs. battery at 1.2V), current flows freely into the battery to replenish chemical energy.
- Reverse Current Protection: When daylight drops and panel voltage falls below battery voltage, the blocking diode prevents electrical current from flowing backward from the battery into the solar panel, which would drain the battery during nighttime hours.
3. Automated Sensing Logic: Photoresistor vs. Voltage Sensing
How does the light know when night has fallen? Automatic solar pathway fixtures utilize one of two clever sensing techniques to trigger illumination:4. LED Driver and Automatic Shut-off
Once the internal logic switch closes, energy flows from the rechargeable battery through a constant-current LED driver board into a Surface-Mounted Device (SMD) LED light engine. The driver stabilizes voltage output so the light produces a warm, flicker-free beam.When dawn arrives and natural light exceeds 10 to 15 lux, solar panel output jumps back above 1.5V DC (or photoresistor resistance drops). The PCB logic detects this shift, instantly opens the switch circuit to turn off the LED, and redirects incoming current back into charging the battery for the next evening.
Sensor Response Across Ambient Light Scenarios
| Light Scenario | Ambient Lux Level | PV Panel Output | Circuit Switch State | LED Output Status |
| --- | --- | --- | --- | --- |
| Direct Midday Sun | 50,000 - 100,000 Lux | 2.5V - 5.5V DC | Open (Charging Active) | Off (0 Lumens) |
| Cloudy Daylight | 10,000 - 25,000 Lux | 1.5V - 2.5V DC | Open (Charging Active) | Off (0 Lumens) |
| Twilight Transition | 10 - 50 Lux | 0.5V - 1.0V DC | Transitioning Threshold | Off (0 Lumens) |
| Full Night Darkness | < 1 Lux | < 0.1V DC | Closed (Discharging) | On (100% Lumens) |
| Streetlight Glare Overspill | 15 - 30 Lux | 0.8V - 1.2V DC | Open (Tricked into Day Mode) | Off (0 Lumens) |
This scenario analysis details how the internal circuitry and panel outputs shift as natural light transitions throughout a full 24-hour cycle.
Common Mistakes That Sabotage Automatic Operation
Avoid these frequent installation and operational missteps to keep your dusk-to-dawn sensors functioning accurately:
Frequently Asked Questions About Solar Light Sensors
Next Steps for Solar Pathway Lighting Setup
Your decision: Determine whether your walkway has adequate natural darkness at night or requires sensor shielding from nearby streetlights.
Do this next: Audit your garden walkway for ambient light interference and clean solar panels to ensure clear voltage drops at twilight.
- Read next: Optimal Placement Guide: Positioning Automatic Solar Lights for Best Sensor Performance
Waterproof Solar Garden Pathway Lights with Automatic On and Off (Pack)
Take action today to optimize your pathway lighting placement or upgrade your walkway with hassle-free automatic fixtures.
Explore Related Solar Lighting Technology Guides
Explore related guidance covering setup, upkeep, and seasonal care:
- IP65 vs. IP67 for Solar Pathway Lights: What Rating Do You Really Need?
- Automatic vs. Manual Solar Pathway Lights: Which Is Best for Your Walkway?
- How to Fix Water & Condensation in Solar Pathway Lights
- Why Your Dusk-to-Dawn Solar Lights Aren't Turning On (And How to Fix Them)
Cover photo by Barbara Batári on Pexels.