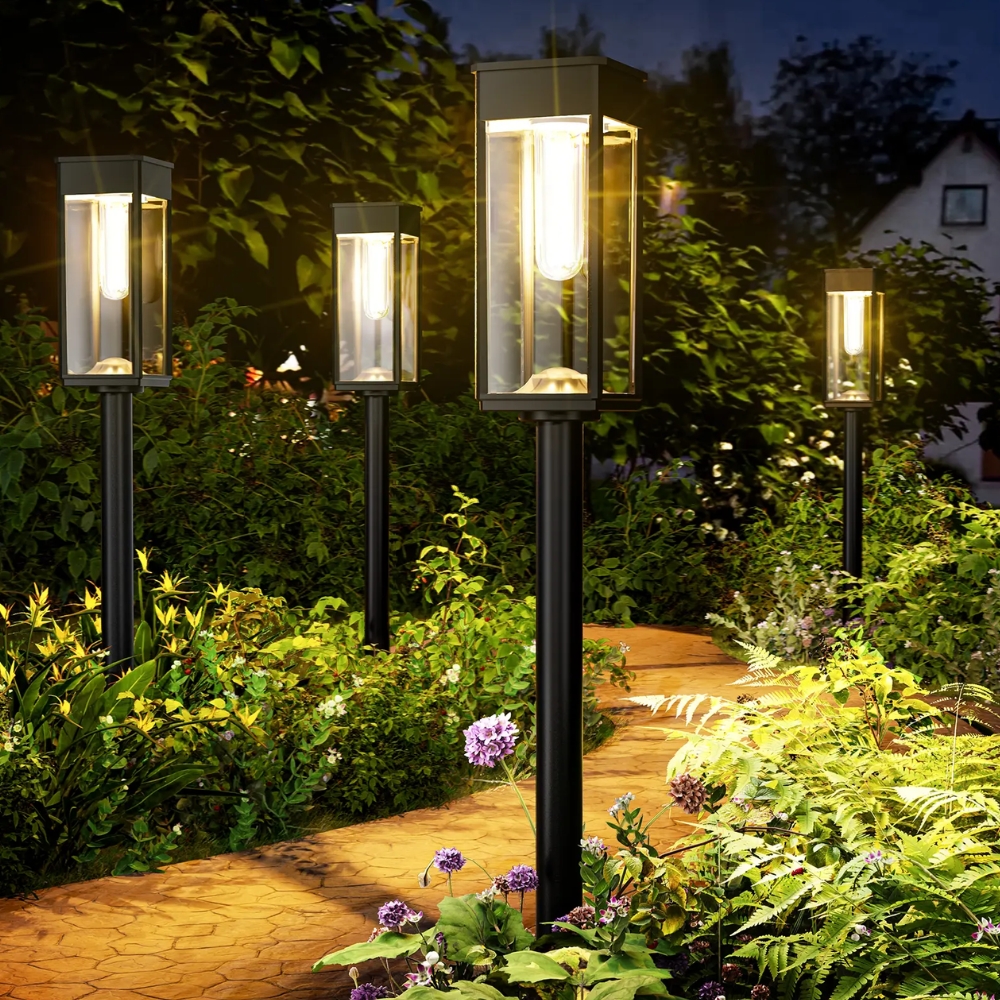
How to Space and Lay Out Pathway Lights

(Attention) You bought a beautiful set of lights, pushed them in the ground, and at night… it looks like a runway with dark holes between the beams. The lights aren't the problem. The spacing is.
(Interest) Getting layout right is the difference between "someone designed this" and "someone stuck lights in the dirt." And it comes down to one number you can calculate in about a minute.
The core rule
Space lights so their pools of light just touch or slightly overlap. For most pathway lights that means [SPACING RANGE, e.g. 6–8 feet] apart.
- Wider beam / brighter light → space farther apart
- Narrow beam / accent light → space closer together
- When in doubt, err closer. Gaps look worse than overlap.
Quick method (no math degree required)
Layouts by path type
Straight path Even spacing on one side is usually enough for a walkway up to ~[WIDTH] wide. For wider paths, stagger lights on alternating sides.
``` Side A: Path: ---------------------------- Side B: * ```
Curved path Place a light at the start and end of each curve so the bend is clearly defined, then fill the straight sections evenly. Curves need slightly tighter spacing — you're lighting a shape, not just a line.
Driveway or long run Consistent, wider spacing reads as intentional. Keep the interval identical the whole way; irregular spacing is what looks cheap.
Placement tips that matter
- Set lights [OFFSET, e.g. 4–6 inches] back from the path edge so they light the path, not the lawn.
- Keep panels out of the shadow of shrubs, fences, and the house — a shaded panel is a dead light by 10pm.
- Angle the head slightly toward the walking surface, not straight up.
(Action) Count your path length, divide by your spacing number, and you've got your quantity. Then get them in the ground → Install Solar Pathway Lights in 10 Minutes
Part of our Complete Guide to Solar Garden Pathway Lighting.
