
How Far Apart Should You Space Solar Pathway Lights? A Layout Guide
Installing solar pathway lights is one of the quickest, most satisfying home improvement projects you can tackle over a weekend. There are no wires to pull, no electricians to hire, and no added costs on your monthly energy bill. However, placing your fixtures randomly in the soil rarely yields that polished, professional look you see in landscape design magazines.
Place your solar lights too close together, and your garden path ends up looking like an airport runway—harsh, blinding, and overly intense. Place them too far apart, and you create treacherous dark gaps that leave guests stumbling over uneven stepping stones or garden edges.
Achieving that inviting, warm glow across your lawn or garden walkway comes down to a simple formula: understanding correct solar pathway light spacing. In this guide, we will walk you through the math, design strategies, and installation steps to elevate your home's outdoor curb appeal effortlessly.
---
Why Proper Solar Pathway Light Spacing Matters
Properly spacing your outdoor lighting balances two fundamental goals: functional safety and aesthetic harmony. When done correctly, individual fixtures blend into a cohesive illumination system that guides foot traffic while highlighting your garden's best foliage.
Safety and Visibility
At its core, pathway lighting serves a vital utility function: helping you and your visitors navigate outdoors safely after dark. Uneven flagstones, stray tree roots, low steps, and gentle turns can easily become tripping hazards at night. Proper spacing ensures a continuous cast of light across the walking surface, so every step is clearly defined without cast shadows obscuring obstacles.
Avoiding the 'Runway Effect' and Glare
When homeowners buy a multi-pack of solar pathway lights, the initial instinct is often to stick them in a tight, rigid line every two feet along both sides of a walkway. This creates what landscape lighting designers call the "runway effect."
Not only does this clutter your garden edge with excessive plastic or metal posts, but it also creates uncomfortable glare. Modern, high-efficiency fixtures—such as Waterproof Solar Garden Pathway Lights with Automatic On and Off—are engineered with clear optics that spread light outward. Spacing them correctly allows those light pools to merge naturally rather than overwhelming the eye.
---
The Golden Rule of Solar Pathway Light Spacing

Photo by Gurgenidze G on Pexels
If you are looking for a baseline rule of thumb, most landscape lighting professionals recommend spacing standard solar pathway lights 6 to 8 feet apart.
However, distance should never be picked entirely at random. The true distance depends on the brightness (lumens) of your fixtures and the physical beam diameter they throw onto the ground.
Standard Distance Recommendations (6 to 8 Feet)
For typical accent and walkway lighting, a 6 to 8-foot gap provides an even transition from one light beam to the next. The edge of one fixture's light cast should just touch or slightly overlap the outer perimeter of the adjacent fixture's beam. This creates a soft, continuous ribbon of light down the path.
Adjusting Spacing Based on Brightness (Lumens)
Solar lights come in varying levels of light output measured in lumens:
- Low Output (1 to 10 Lumens): Typically decorative marker lights. These generate small pools of accent illumination and need to be placed roughly 2 to 4 feet apart.
- Standard Pathway Output (15 to 30 Lumens): Found in quality home pathway fixtures. These cast a wide light pool spanning 6 to 8 feet in diameter, allowing for 6 to 8-foot spacing.
- High-Output Pathway Lights (40+ Lumens): Bright security or task-oriented solar fixtures. These can easily be spaced 8 to 10 feet apart without creating dark gaps.
Solar Pathway Light Spacing Guide by Walkway Type & Fixture Brightness
| Walkway Type | Typical Width | Recommended Lumens | Ideal Spacing Distance | Recommended Layout Pattern | | :--- | :--- | :--- | :--- | :--- | | Narrow Garden Path | 2 to 3 feet | 10–20 Lumens | 5 to 6 feet apart | Staggered Alternate | | Standard Front Walkway | 3 to 4 feet | 15–30 Lumens | 6 to 8 feet apart | Staggered Alternate | | Wide Grand Entryway | 5+ feet | 30–50 Lumens | 6 to 8 feet apart | Symmetrical (Both Sides) | | Curved Stone Walkway | Varies | 15–25 Lumens | 4 to 6 feet apart | Outside Curves / Anchor Points |
Before finalizing your placement, take time to calculate how many lights you need based on your total pathway length so you buy the right pack size up front.
---
Layout Strategies: Straight vs. Staggered Spacing
Beyond distance measurements, the pattern in which you stake your lights shapes the overall look of your outdoor landscape.
Symmetrical/Straight Line Spacing
Symmetrical layouts place fixtures directly across from one another along both sides of a path. This arrangement produces a formal, structured look that works best for wide, straight entryways leading directly to a front door.
However, symmetrical placement requires double the number of fixtures. If fixtures are placed too close together in a straight line, it easily triggers the harsh runway effect mentioned earlier. To dive deeper into which style suits your property, explore our detailed guide on staggered vs. straight pathway lighting layouts.
Staggered Alternate Spacing
For most residential gardens and suburban walkways, staggered alternate spacing is the ideal solution. In this design, you place a light on the left side of the path, measure forward 6 to 8 feet, place the next light on the right side, and repeat down the line.
Staggered spacing offers several distinct advantages:
---
Key Factors That Influence Your Pathway Spacing
While general formulas work well on paper, real-world outdoor environments introduce unique variables that require slight adjustments.
Walkway Width and Length
A narrow 3-foot garden path requires far less illumination than a 6-foot-wide formal stone walkway. On wide paths, a single side or light staggered pattern may leave the opposite edge in shadow. If your path exceeds 4 feet in width, bring your staggered lights slightly closer together (roughly 5 to 6 feet apart) to ensure full coverage across the entire walking plane.
Curves, Steps, and Entry Hazards
Whenever a path changes direction or elevation, standard spacing rules should yield to safety requirements:
Curves: Place lights on the outside* of curves to highlight the border and direct the eye naturally through the turn.
- Steps and Elevation Changes: Always place a fixture near the top and bottom of steps or steep inclines to clearly illuminate tread edges.
- Obstacles: Ensure low retaining walls, large planters, or unexpected bends are clearly lit by placing a solar stake nearby as a visual anchor.
Sunlight Availability and Shadow Obstacles
Because solar pathway lights depend on built-in photovoltaic panels to charge their internal batteries during the day, sunlight exposure dictates placement flexibility. A fixture shaded by dense tree canopies, roof eaves, or tall shrubs won't stay lit as long at night.
Before driving your stakes into the ground, take time to map sunlight in your yard throughout the morning and afternoon. If a section of your pathway sits in permanent shadow, you may need to offset your fixture positions slightly into sunnier nearby lawn patches or choose high-efficiency solar models designed to capture low ambient light.
---
How to Measure and Plan Your Walkway Layout in 4 Steps
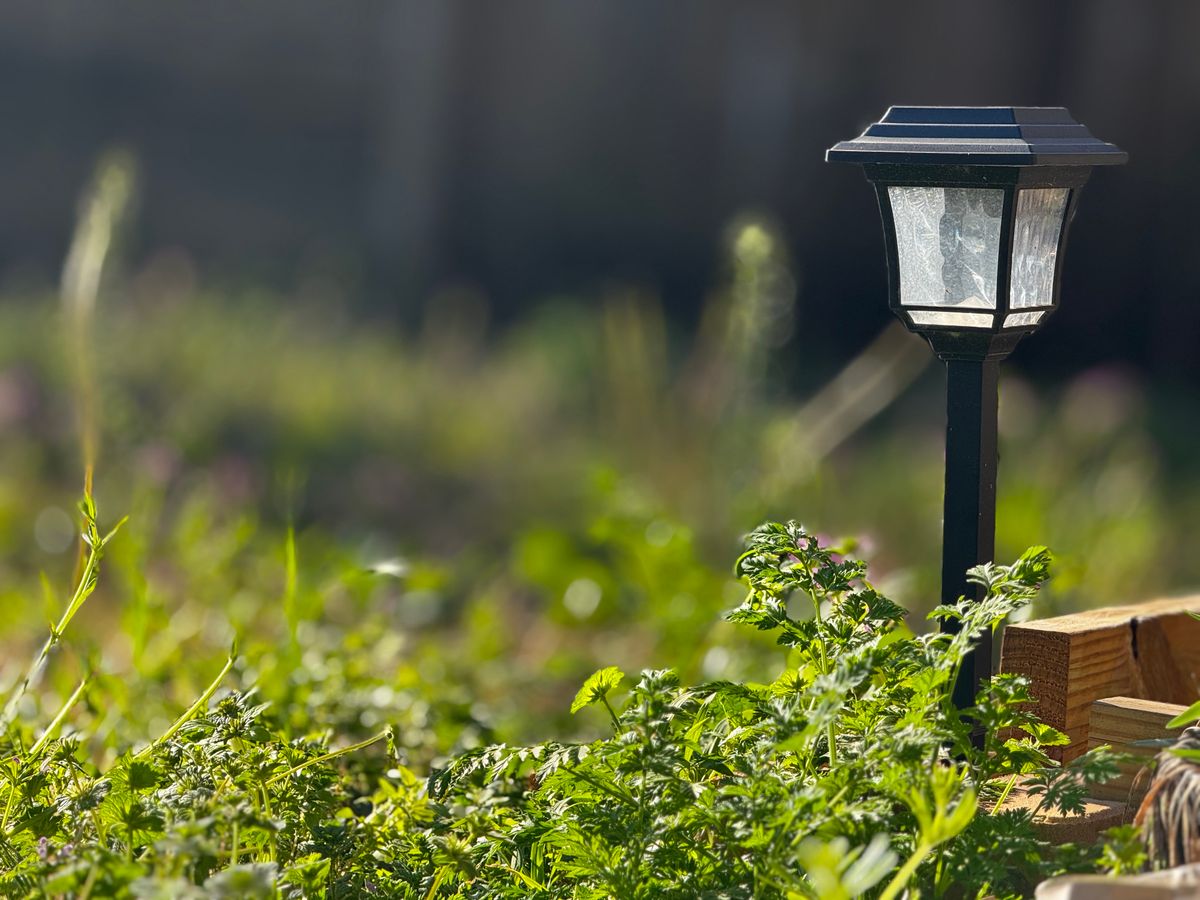
Planning your layout before sinking solar stakes into hard soil saves time and protects your solar light stems from damage. Follow this simple 4-step checklist:
4-Step Checklist for Pre-Installation Layout Planning
Step 1: Measure the Pathway Length
Unroll a tape measure along the edge of your walkway. Note the overall linear footage. If your path curves, follow the curve rather than taking a straight-line shortcut.Step 2: Determine Your Preferred Layout Pattern
Decide whether a straight symmetrical line or a staggered alternate pattern fits your home's architecture. For informal gardens, choose staggered; for formal, wide entryways, consider straight pairs.Step 3: Test Placement with Temporary Markers
Before opening your light packs, use landscape pins, survey flags, or small wooden sticks to mark each intended light spot. Wait until dusk, then walk the path. Check for black spots, unwanted shadows, or bright glare points.Step 4: Install Your Solar Stakes
Once you are satisfied with the spacing, soften hard or dry soil with water before pushing the ground stakes in. For step-by-step guidance on securing your fixtures without breaking plastic spikes, read our full article on installing your solar pathway lights.---
Common Pathway Lighting Mistakes to Avoid
Even experienced DIY homeowners can stumble into simple layout traps. Keep an eye out for these frequent mistakes:
- Staking Too Close to Hardscape Edges: Placing lights right on the concrete edge leaves them vulnerable to getting kicked by pedestrian heels or damaged by string trimmers and mowers. Always maintain a 6 to 12-inch buffer zone in mulch or grass beds.
- Mixing Light Color Temperatures: Combining harsh 6000K daylight-blue solar lights with warm 2700K golden solar lights creates a visual mismatch. Buy your lights in uniform multi-packs to maintain consistent color and output.
- Ignoring Growth Patterns of Plants: A small perennial planted 6 inches from your solar stake in spring might overgrown the solar panel by mid-summer, blocking sunlight and dimming your pathway light.
- Over-Illuminating: More light isn't always better. The goal of pathway lighting is subtle guidance, not stadium-level brightness. Allow ambient moonlight and soft overlapping light pools to create atmosphere.
Upgrade Your Walkway with Weatherproof Solar Lighting
Achieving garden lighting that looks like it was designed by a professional landscaper comes down to smart planning and quality fixtures. By applying the standard 6 to 8-foot staggered spacing rule, keeping fixtures 6 to 12 inches off the path edge, and choosing reliable weather-resistant lights, you turn any plain walkway into a warm, safe, and elegant nocturnal feature.
If you're ready to upgrade your yard without fussing with electrical wiring or hiring contractors, consider our high-performance Waterproof Solar Garden Pathway Lights with Automatic On and Off. Designed with durable waterproof housings, built-in light sensors, and efficient solar charging panels, they deliver rich, uninterrupted glow night after night.
Cover photo by quang vinh on Pexels.