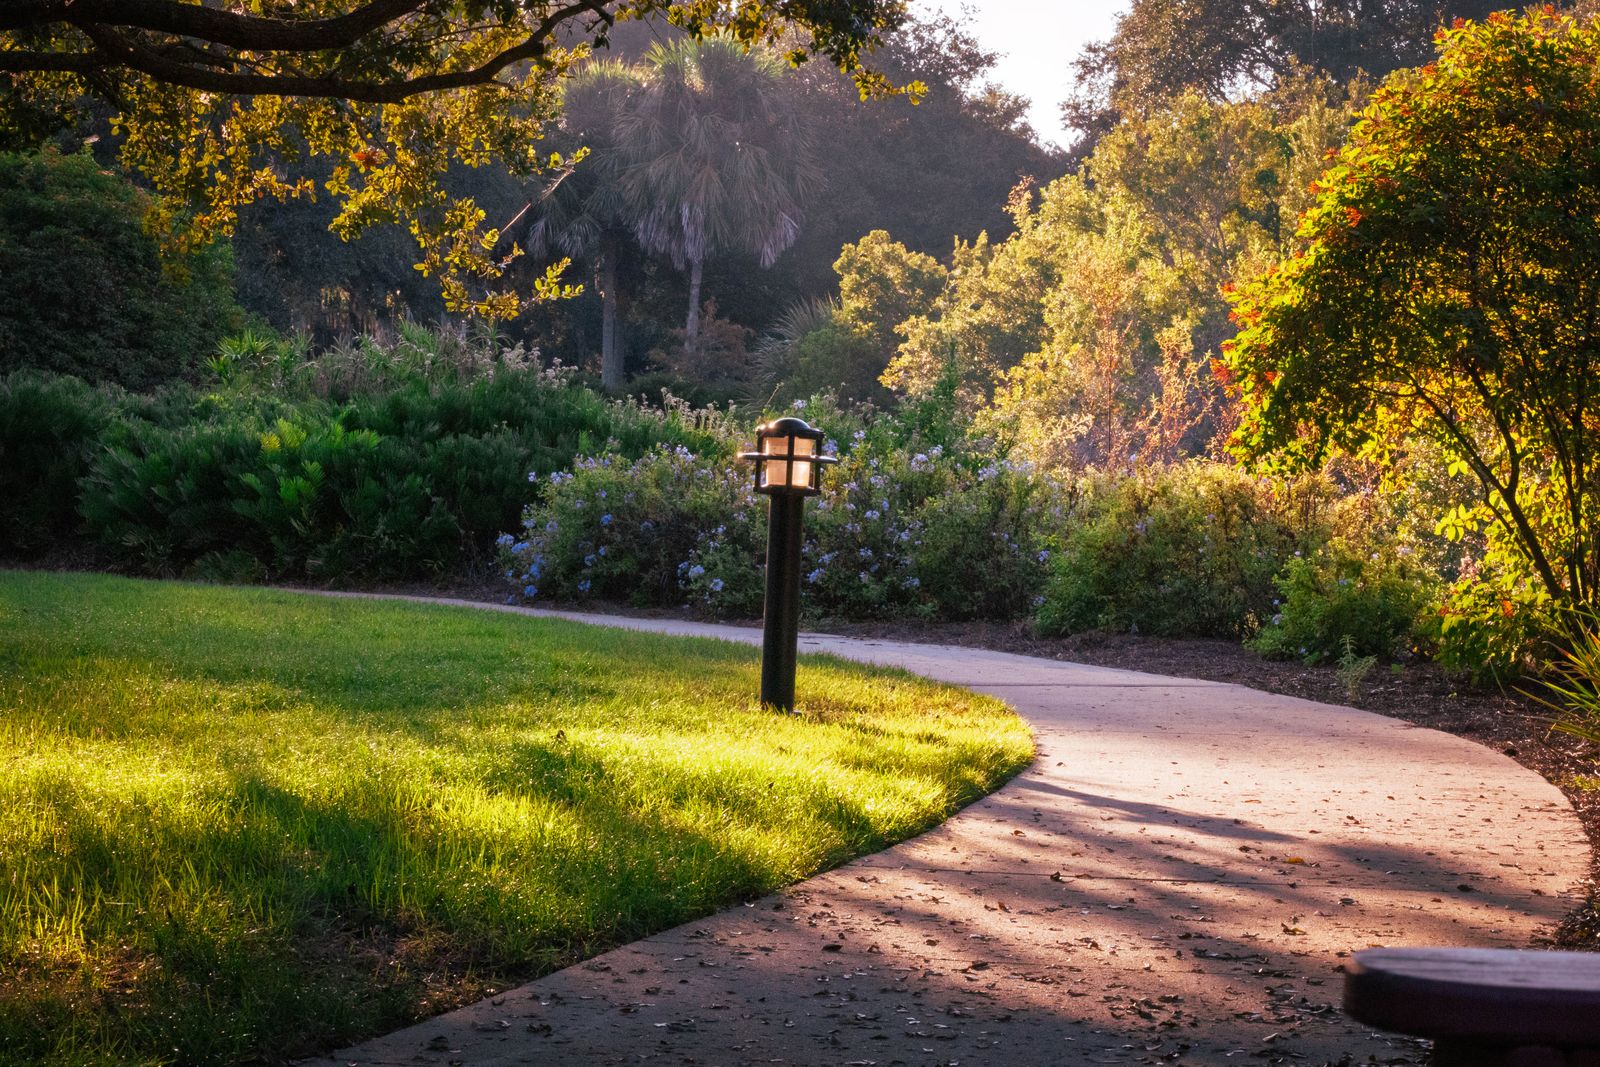
How to Map Sunlight in Your Yard Before Installing Solar Pathway Lights
There is nothing quite as frustrating as installing beautiful new landscape lighting, waiting eagerly for twilight, and watching your pathway lights flicker out after a meager two hours of dim illumination. When outdoor solar lights underperform, people often blame the battery or the LED quality. However, the real culprit is almost always placement. Without sufficient sunlight, even high-performance fixtures cannot generate the energy needed to power your walkways through the night.
Mapping your yard's sunlight exposure is the secret pre-installation step that transforms disappointing dusk lighting into brilliant, reliable night-long illumination. By understanding how sunlight hits your walkways and garden borders throughout the day, you can eliminate guesswork and position your lights for peak energy capture.
---
Why Sunlight Mapping is Crucial Before Installing Solar Pathway Lights
Solar pathway lights rely on photovoltaic (PV) cells embedded in their top panels to convert photons into chemical energy stored within rechargeable batteries. While this energy conversion feels effortless, solar panels are remarkably sensitive to exact lighting conditions.
Direct vs. Indirect Sunlight: What Your Panel Actually Needs
To understand solar pathway light sunlight requirements, it helps to know how PV panels process ambient light versus direct rays:
- Direct Sunlight: Unobstructed beam solar radiation strikes the panel head-on. Under full sun, solar panels operate at maximum efficiency, allowing the internal battery to achieve a complete charge in 6 to 8 hours.
- Indirect or Dappled Light: Diffused sunlight filtered through cloud cover, tree canopies, or porch overhangs reduces charging output significantly—often by 50% to 80%. While panels technically charge in ambient light, energy absorption is slow.
How Shadow Trajectories Change Throughout the Day
A section of your garden path that looks bathed in golden sunlight at 9:00 AM might be completely obscured by your home's roofline or a high fence by 1:00 PM. Shadows act as moving blockades against solar charging. Mapping shadow trajectories ensures you do not inadvertently place fixtures in dead zones that stay dark for critical afternoon charging hours.
---
Tools and Methods for Mapping Sunlight in Your Yard
Photo by Artūras Kokorevas on Pexels
Mapping solar exposure does not require an engineering degree or expensive equipment. You can choose a method that best matches your DIY style.
Method 1: The Manual Sunlight Audit Log (Free DIY)
The simplest and most effective approach is a classic paper-and-pencil audit. By observing your walkway at set intervals across a clear, sunny day, you get real-time, ground-truth data about shadow movements across your specific landscape features.
Method 2: Smartphone Sun-Tracking Apps
If you prefer high-tech solutions, free and low-cost augmented reality (AR) smartphone apps (such as Sun Seeker or Lumos) overlay the sun’s trajectory directly across your phone camera view. These tools allow you to project shadow patterns for any given day of the year in just a few minutes.
Method 3: Solar Pathfinder and Sensor Tools
For expansive properties or complex, multi-tiered gardens, physical solar tracking sensors or solar pathfinders can be placed on the ground to log sunlight exposure over several days. While usually reserved for commercial solar panel installations, scaled-down digital light meters offer ultra-precise lux readings for avid gardeners.
---
Step-by-Step Guide: How to Conduct a 1-Day Sunlight Mapping Audit
Conducting a sunlight audit is an enjoyable weekend project that yields immediate layout clarity.
Step 1: Stake Out Your Planned Walkway Lighting Route
Before tracking light, establish where you plan to install your fixtures. Use wooden stakes, flags, or small rocks to mark candidate light positions along your garden edge or walkway, accounting for proper layout distance. If you are unsure of how close together to place your fixtures, review our guide on spacing your solar pathway lights to balance coverage and aesthetic appeal.
Step 2: Record Sunlight Exposure Every Two Hours
Select a bright day to conduct your observations. Starting at 8:00 AM, inspect your marked path positions every two hours until 6:00 PM. Record whether each stake sits in Direct Sun, Partial Sun/Dappled Shade, or Full Shade.
#### Suggested Hourly Tracking Schedule Checklist:
- 08:00 AM: Morning baseline inspection
- 10:00 AM: Mid-morning sun angle evaluation
- 12:00 PM: Peak solar intensity (solar noon)
- 02:00 PM: Early afternoon shadow shift
- 04:00 PM: Late afternoon low-angle observation
- 06:00 PM: Evening twilight shadow final check
Step 3: Categorize Zones (Full Sun, Partial Sun, Full Shade)
After completing your hourly checks, total up the direct sunlight hours for each marked location using a simple template:
| Walkway Section / Stake # | Morning Status (8am - 11am) | Midday Status (11am - 2pm) | Afternoon Status (2pm - 6pm) | Total Direct Hours | Sun Category | Recommended Action | | :--- | :--- | :--- | :--- | :--- | :--- | :--- | | Section A (Front Porch) | Full Shade | Partial Sun | Full Sun | 4.5 Hours | Partial Sun | Adjust placement forward | | Section B (Main Path) | Full Sun | Full Sun | Full Sun | 8.0 Hours | Full Sun | Ideal for all pathway lights | | Section C (Garden Gate) | Full Shade | Full Shade | Partial Sun | 2.0 Hours | Full Shade | Use high-efficiency solar models |
Categorize your yard into three primary zones:
---
Accounting for Seasonal Shifts in Solar Angles
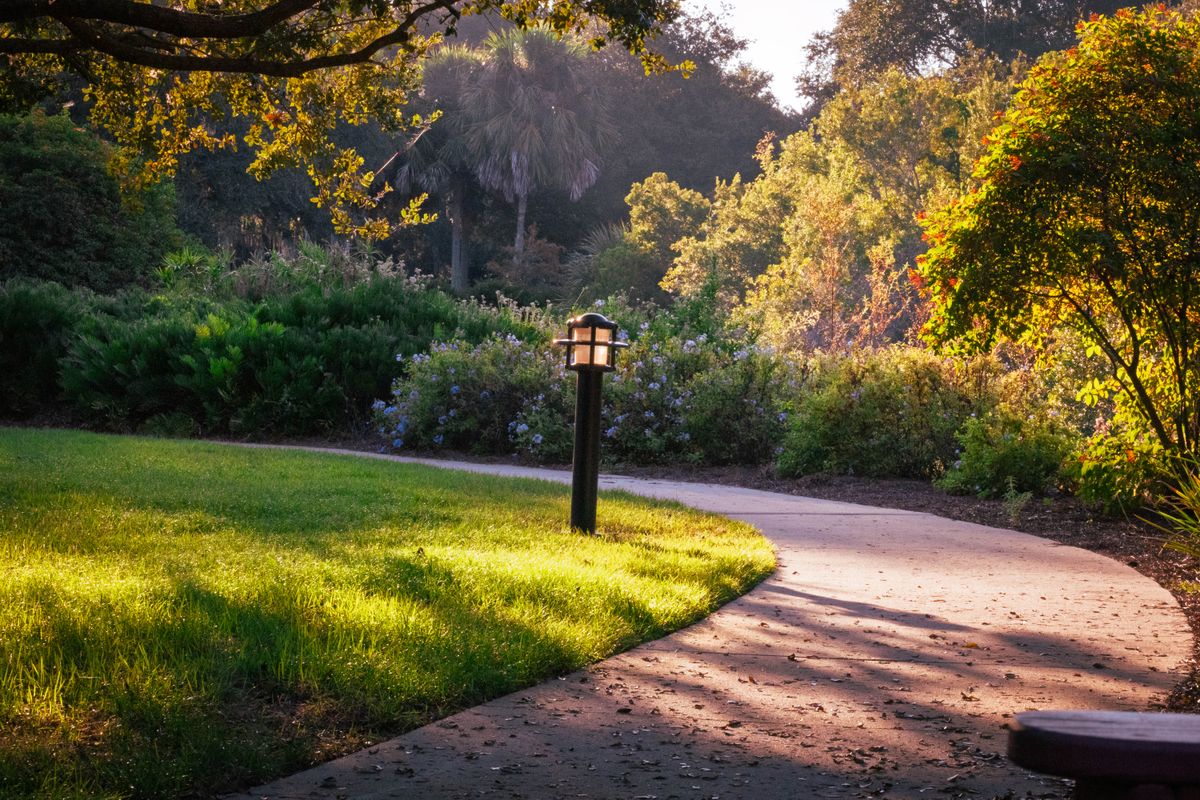
Photo by Kim Lawrie on Pexels
Sunlight patterns are dynamic; the solar track across your property shifts continuously through the seasons.
Summer vs. Winter Sun Paths
During summer months, the sun tracks high across the sky, casting short shadows and delivering intense solar energy. In winter, the sun's lower angle creates significantly longer shadows from fence lines, neighboring houses, and evergreen trees. A location that gets 7 hours of direct light in June may get fewer than 4 hours in December.
Deciduous Trees and Seasonal Canopy Changes
When mapping in early spring, remember that bare tree branches will soon sprout dense foliage. A path running under an oak canopy may look wide open in March, but will turn into a deep shade zone by late May. Account for seasonal canopy density so your path lights perform year-round.
---
How to Handle Problem Spots and Partial Shade Walkways
What if your primary walkway runs along a south-facing fence or beneath tall shade trees? You do not have to abandon solar lighting; you simply need smart positioning strategies.
Adjusting Stake Angles for Shaded Borders
If a path border sits against a shadow-casting wall, shift your stakes just 6 to 12 inches away from the barrier into open light. Angles matter: nudging a light stake slightly outward from under an overhang can double its daily solar absorption. For tricky yards, explore our guide on shaded garden placement strategies.
Selecting High-Efficiency Waterproof Solar Pathway Lights
When working with partial sun zones, selecting top-tier fixtures is critical. Lower-quality solar lights require perfect solar conditions, whereas premium, modern pathway lights maximize every available ray of sunlight.
Our Waterproof Solar Garden Pathway Lights with Automatic On And Off (Pack) are engineered specifically for demanding outdoor environments. Featuring high-efficiency monocrystalline solar panels and advanced dusk-to-dawn automatic sensors, these units store energy efficiently during daytime hours and activate automatically when ambient light drops.
#### Watch Out for Common Hidden Shadow Obstacles:
- Wide roof eaves and porch overhangs
- Tall privacy fencing and retainage walls
- Overgrown ornamental grasses and boxwood shrubs
- Parked vehicles along driveway paths
---
Final Placement Checklist: Turning Your Sunlight Map Into an Action Plan
Once your sunlight audit is complete, put your findings into action before driving your ground stakes:
Mapping your yard takes only a single day, but the payoff is years of effortless, automatic night lighting that shines brightly from dusk to dawn.
Cover photo by Kim Lawrie on Pexels.