Solar Light Sensor Placement Guide: Prevent Flickering & Early Shutoff
Contrary to popular belief, failing solar lights rarely suffer from dead batteries; ambient light interference is usually the real culprit. To ensure your automatic dusk-to-dawn photocell sensors trigger reliably every evening, position solar pathway lights at least 5 to 7 feet away from streetlights, porch lanterns, and adjacent solar fixtures, keeping sensor lenses aimed away from direct glare.
Visual Clearance Diagrams: Photocell Zones & Sensor Line-of-Sight
Proper physical orientation prevents high-lumen artificial glare from washing out photocell light receptors. Use these spatial clearance boundaries when planning your outdoor lighting layout.
Placement Strategies for Common Landscape Scenarios
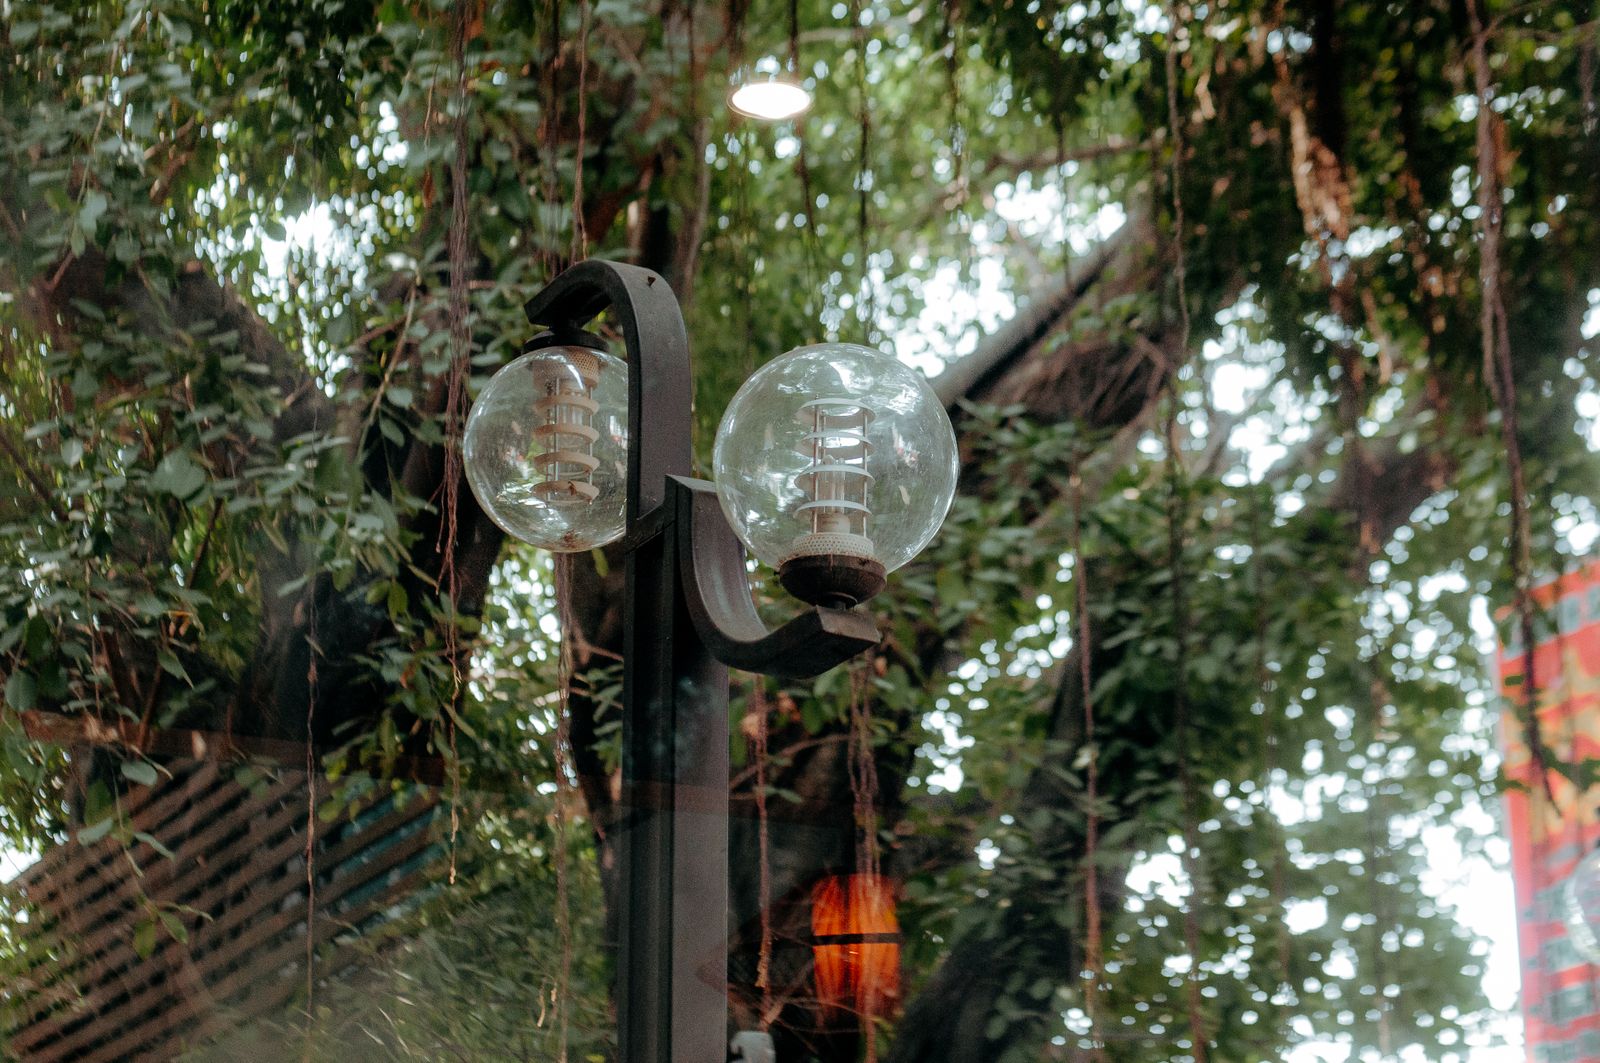
Photo by 🇻🇳🇻🇳Nguyễn Tiến Thịnh 🇻🇳🇻🇳 on Pexels
Walkway Adjacent to Bright Porch Light — Maintain a minimum 7-foot buffer from overhead porch lights. Point the internal photocell sensor away from the home entrance towards the lawn to prevent beam washout.
Lawn Edges Exposed to Municipal Streetlights — Position stakes 8 to 10 feet back from street lights or install low landscape rocks/shrubs directly between the sensor lens and the streetlight to act as a natural optical shield.
Narrow Garden Paths with Staggered Stakes — Space fixtures 6 to 8 feet apart in a zig-zag pattern across the path. Staggering prevents the illuminated cone of Light A from hitting the sensor of Light B.
Walkways Bordering Glass Doors or White Vinyl Fencing — Angle light heads away from highly reflective surfaces. Nighttime reflections off white fencing or double-pane glass bounce ambient light straight back into photocell lenses.
Different zones of your property present unique lighting obstacles. Match your layout plan to your specific architectural and landscape conditions.
Pre-Installation Sensor Placement Audit
- [ ] Locate all ambient nighttime light sources (porch lights, streetlights, security floodlights, garage lanterns).
- [ ] Measure a minimum 5-foot (preferably 7-foot) distance from artificial sources to each planned solar light location.
- [ ] Check that sensor photocell lenses are angled away from reflective surfaces like glass doors or white vinyl fences.
- [ ] Confirm adjacent solar pathway lights are spaced 6 to 8 feet apart to prevent cross-interference.
- [ ] Verify that overhead tree branches do not block direct daytime sunlight required for full sensor-battery charging.
- [ ] Wipe photocell lenses clean of dust or manufacturing film prior to initial night activation.
Sensor Response & Trigger Troubleshooting Matrix
| Symptom | Probable Sensor Cause | Immediate Corrective Action |
| --- | --- | --- |
| Light cycles on and off repeatedly every few seconds | Cross-interference: The fixture's own light output or an adjacent stake is shining directly onto its photocell. | Increase spacing between stakes to 6-8 feet or rotate the light cap 90 degrees. |
| Light fails to turn on at dusk but works after midnight | High ambient glare from porch/indoor lighting keeps ambient lux above the activation threshold early in the evening. | Relocate stake 5-7 feet farther from house lights or shade the sensor side with low foliage. |
| Light stays dim or shuts off after 1-2 hours | Daytime shadow coverage prevents full battery charge, mimicking a faulty photocell sensor at night. | Prune overhanging branches or shift the stake to receive at least 6 hours of direct daytime sunlight. |
| Light stays illuminated continuously during daylight | Photocell sensor lens is heavily soiled with dirt, hard water spots, or leaf debris, blocking ambient light detection. | Clean sensor cap with a soft damp microfiber cloth and mild soap solution. |
If your solar pathway lights behave erratically after dusk, use this matrix to identify line-of-sight and lux-threshold problems.
5 Placement Errors That Trigger Dusk-to-Dawn Failures
Avoid these frequent layout mistakes to guarantee smooth automatic illumination night after night.
Visual Gallery: Perfect Placement vs. Glare Hazards
Compare visual examples of correct spatial placement versus problematic high-glare arrangements.
Key Takeaways: Sensor Placement Cheat Sheet
- Clearance Radius: Keep solar light sensors 5 to 7 feet away from streetlights, porch lanterns, and indoor window glare.
- Fixture Spacing: Space individual pathway lights 6 to 8 feet apart to avoid light spill cross-interference.
- Line of Sight: Orient internal photocells away from direct artificial light beams and reflective walls.
- Daytime Solar Access: Combine sensor clearance with at least 6 hours of unshaded direct daylight for optimal performance.
- Maintenance: Clean photocell lenses quarterly to maintain factory lux trigger thresholds.
Downloadable Field Reference: Walkway Distance Guide
- Minimum distance from porch light / floodlight: 7 feet
- Minimum distance from municipal streetlight: 8-10 feet
- Recommended spacing between adjacent solar stakes: 6 to 8 feet
- Minimum daily direct sunlight requirement: 6 hours
- Photocell cleaning schedule: Every 90 days with damp microfiber cloth
Solar Light Spacing & Distance Interactive Calculator
Use this layout planning calculator to determine exactly how many lights you need and the exact stake spacing interval for your walkway length.
Sensor Response Across Placement Zones
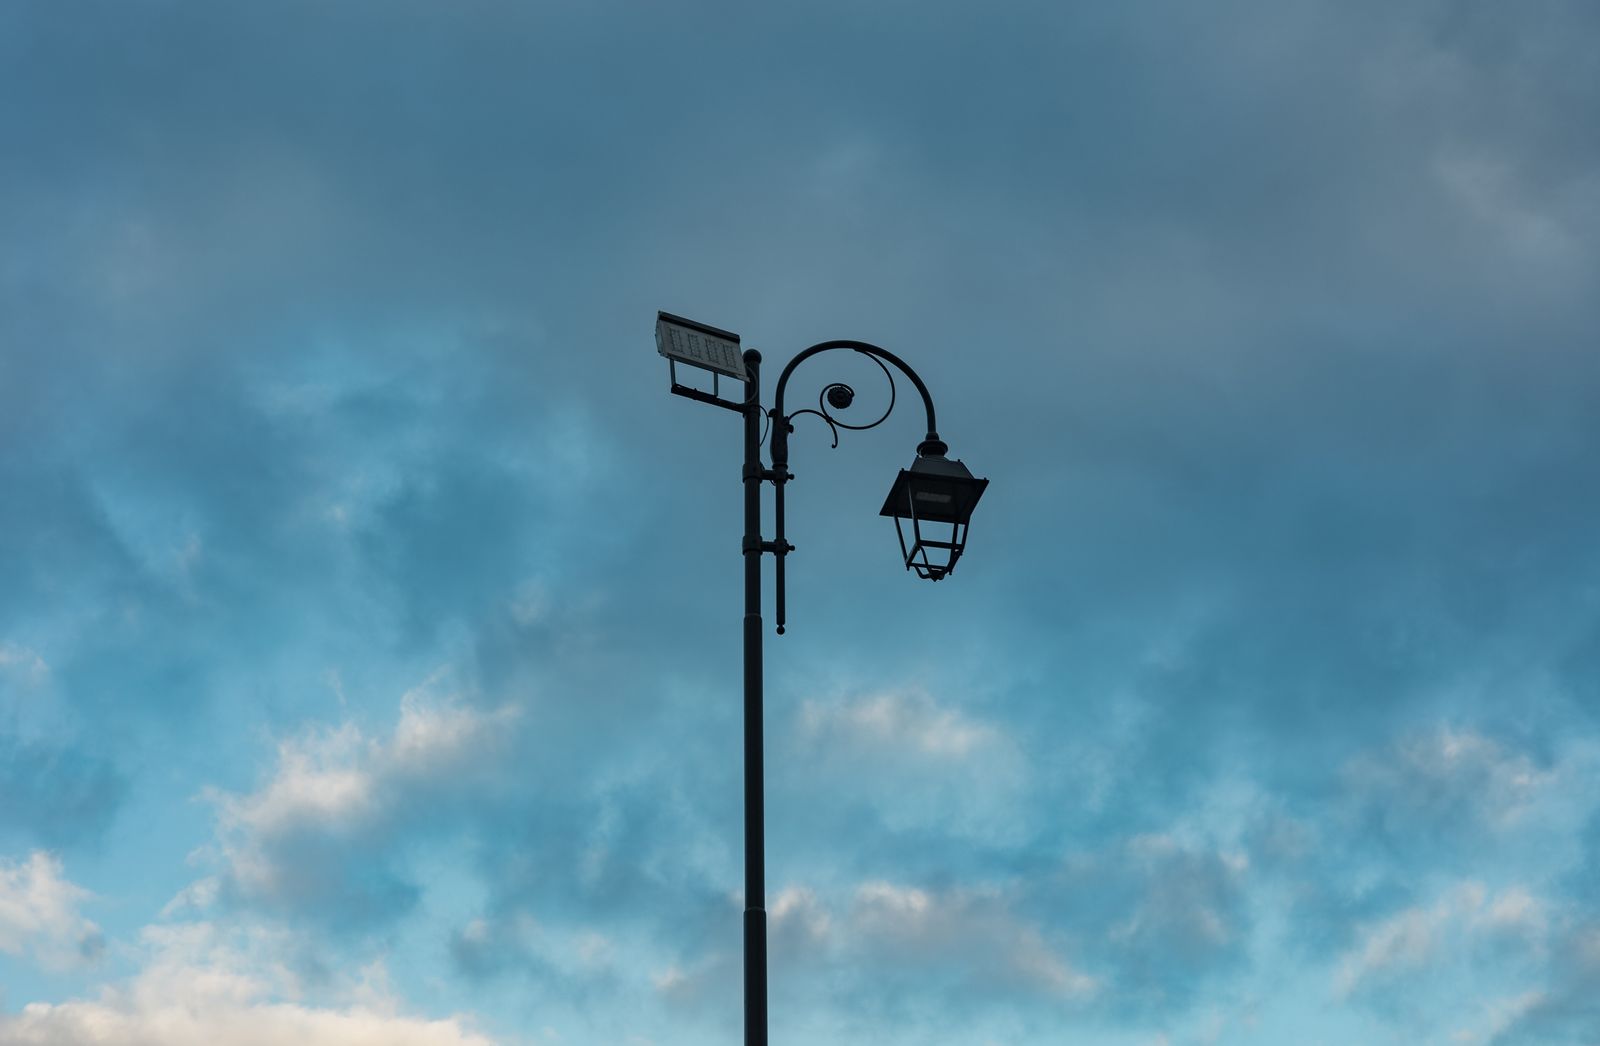
Photo by Angelo Capitanio on Pexels
| Yard Zone / Scenario | Minimum Clearance | Lux Exposure Level | Sensor Performance | Recommended Stake Adjustment |
| --- | --- | --- | --- | --- |
| Open Walkway (No Artificial Light) | N/A (Open yard) | Low (< 1 lux at dusk) | Optimal: Turns on immediately at dusk | Standard 6-8 ft spacing along path. |
| Front Porch Walkway (Near Overhead Lantern) | 5-7 feet from lantern | Moderate-High (5-15 lux) | Delayed activation if closer than 5 ft | Shift stakes 7 ft away or face photocell toward lawn. |
| Lawn Border Along Streetlight | 8-10 feet from streetlight pole | High (10-30 lux) | Will stay off if placed within 5 ft | Offset placement behind low landscape rocks or shrubs. |
| Dense Garden Path (High Tree Canopy) | 3-5 feet from heavy foliage | Low night lux / Low day charge | Early trigger, early battery drain | Move solar cap to sunnier patch or trim overhead branches. |
Evaluating automatic dusk-to-dawn performance metrics across common residential installation scenarios.
Expert Field Tip: The Flashlight Test for Light Thresholds
Unsure if ambient glare will prevent your solar light from turning on? Before staking your lights permanently into hard soil, perform the simple Flashlight Test.
At dusk, set your solar light in its intended position. Turn on your home’s exterior lights, then shine a flashlight from the direction of the porch light or streetlight toward the solar fixture's photocell. If the solar light turns off or flickers, the location receives too much ambient light glare. Move the stake 2 feet farther back until the light remains steadily lit. This simple test saves you from digging multiple holes in your lawn!
Related Solar Lighting Guides
- Troubleshooting guide for non-responsive dusk-to-dawn lights
Frequently Asked Questions: Dusk-to-Dawn Placement
Get quick answers to common sensor positioning and installation challenges.
Recommended Outdoor Automatic Solar Lights
Upgrade your home's walkway with weather-resistant solar fixtures designed for seamless automatic dusk-to-dawn performance.
Your Next Steps for Flawless Walkway Illumination
Your decision: Determine whether your planned path lighting location is susceptible to ambient artificial glare or fixture cross-interference.
Do this next: Measure at least 5 to 7 feet of separation from streetlights or porch lights before installing stakes into your lawn or garden bed.
- Read next: Why Your Dusk-to-Dawn Solar Lights Aren't Turning On (And How to Fix Them)
Equip your pathway with modern, auto-sensing Waterproof Solar Garden Pathway Lights with Automatic On And Off available at https://gardenpathwaylights.com.
Ready to install or optimize your walkway lighting layout? Follow these clear action steps to ensure reliable dusk-to-dawn operation.
Cover photo by Francesco Ungaro on Pexels.