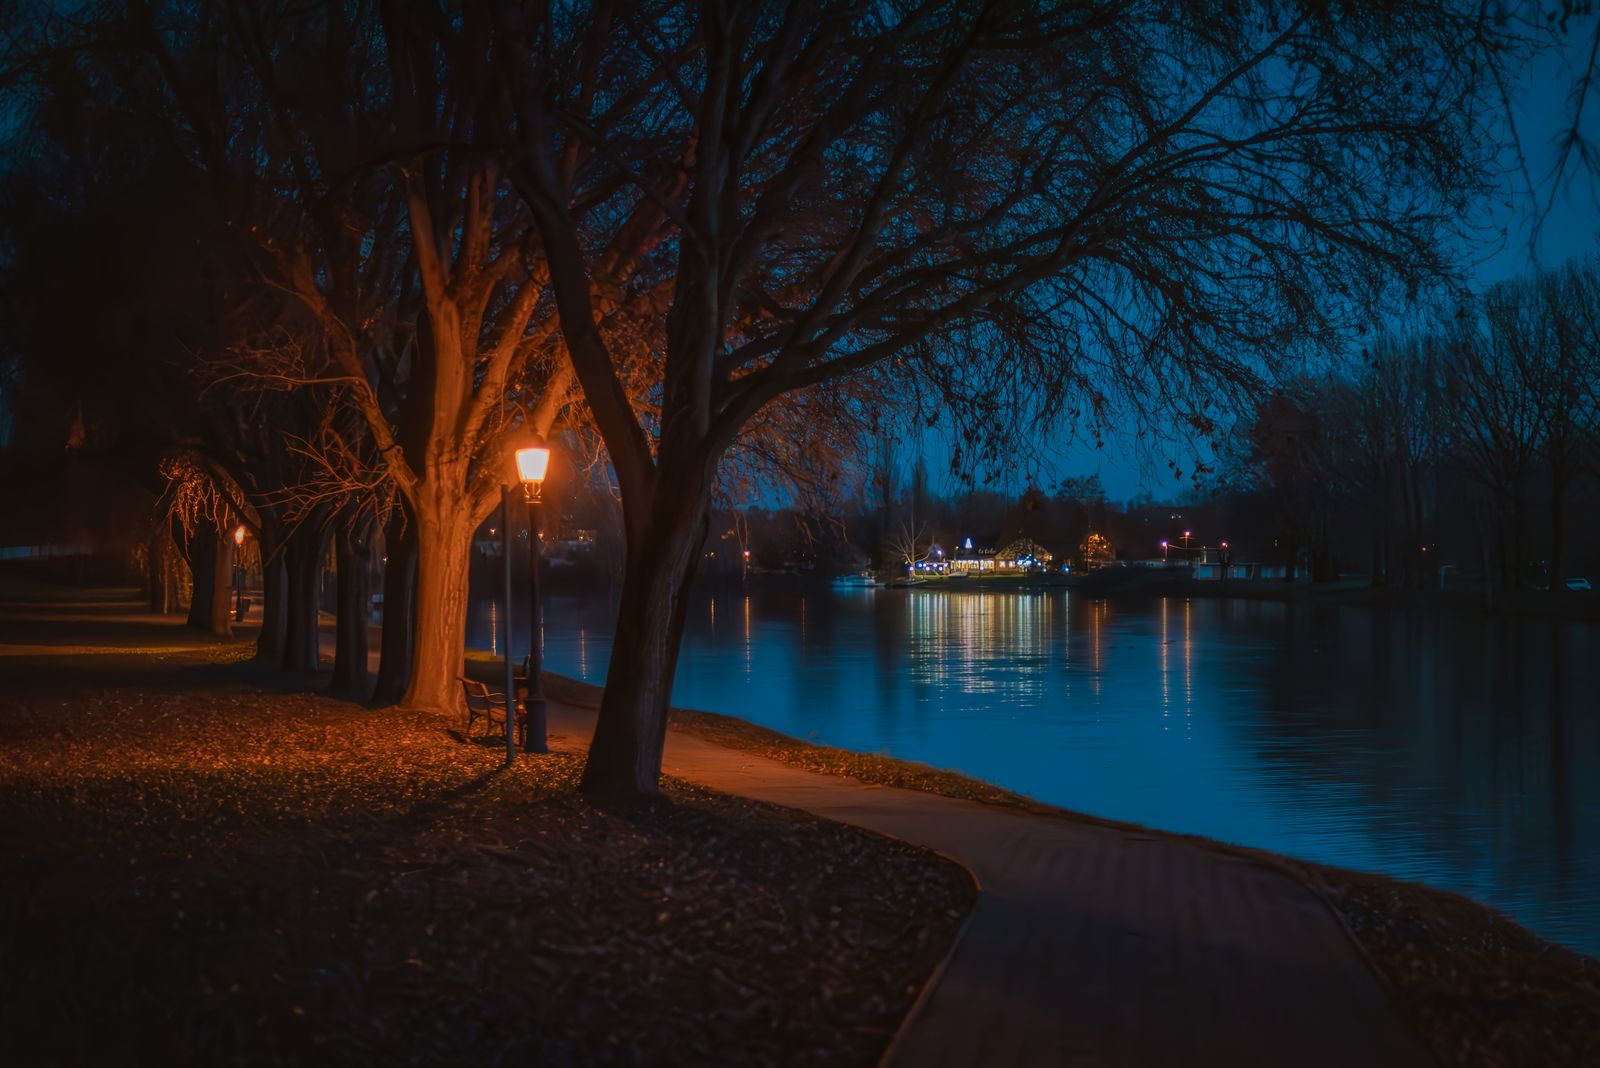
Solar Path Lights on Slopes, Steps, and Retaining Walls
A sloped yard changes three things about path lighting: the stake has to go in vertically even though the ground is not level, runoff will try to undermine every fixture you install, and the same light looks completely different depending on whether you are walking uphill or downhill past it. Get those three right and a terraced or sloping path lights better than a flat one, because the grade gives the light something to model.
Here is how to handle slopes, steps, and retaining walls specifically.
Stake vertical, not perpendicular to the ground
The most common mistake on a slope is pushing the stake in at a right angle to the surface, which leaves the fixture tilted downhill. It looks wrong immediately, and it aims light off the path instead of onto it.
Insert every stake plumb — straight up and down, judged against a wall, a fence post, or the horizon rather than against the ground you are standing on. On a steep grade this means one side of the fixture base sits proud of the soil while the other is buried. That is correct and expected.
Two practical consequences. First, the uphill side of the shaft carries more soil load, so it is worth firming that side deliberately with your heel. Second, on grades steeper than roughly one in four, the buried length of stake is effectively reduced because the soil surface cuts across it diagonally. Compensate by going as deep as the stake allows and by choosing positions where the ground is locally flatter — the inside of a switchback, the shoulder of a step, a terrace.
Runoff is the real enemy on a slope
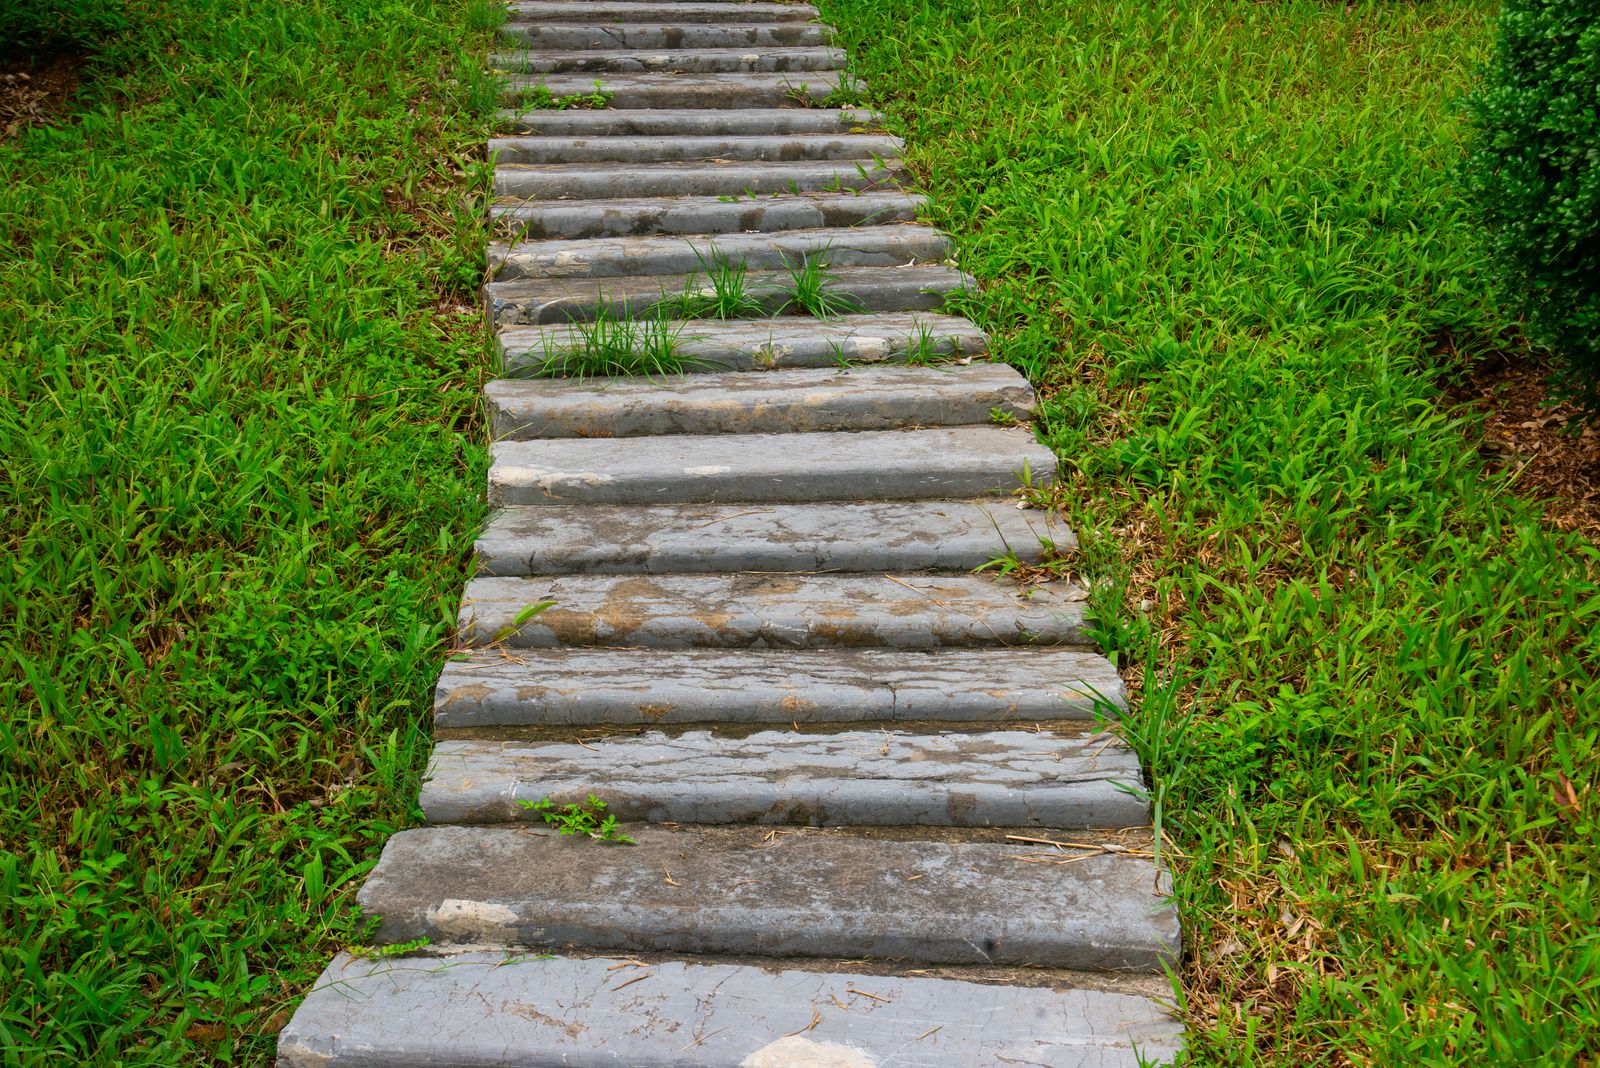
Water moving downhill concentrates in channels, and a stake sitting in one of those channels gets undermined within a season. The soil washes out from around it, the fixture leans, then it falls.
Find the channels before you install:
Planted slopes hold fixtures far better than bare ones. If your slope is mulched or bare soil, expect movement; if it is covered in established groundcover, the root mat does most of the stabilizing work for you.
Steps: light the riser, not the tread
On stairs, the information a person needs is where each edge is. That means light that rakes across the step, catching the vertical face of each riser and casting a small shadow at the nosing, so the eye reads the height change.
- Put a fixture at the top and the bottom of every flight, without exception. These two transitions are where nearly all stumbles happen.
- On flights longer than about four steps, add one at the midpoint. More than that is usually unnecessary on a residential stair.
- Place fixtures beside the stair, low and to the side, in the adjacent soil or planting bed, so light crosses the steps laterally.
- Never place a fixture where someone descending looks straight into it. A source in the descending sightline destroys the contrast that makes step edges visible, which is worse than no light at all.
- Light the landing. A dark landing at a direction change is a genuine hazard, because the walker's expectation of another step is wrong.
Uphill versus downhill: why the same run looks different
This is the part that catches people out. Walking uphill, you look at the slope face and the fixtures are roughly at eye level ahead of you — glare is a real risk and the light sources dominate. Walking downhill, you look down at the path and the fixtures are below your sightline — the light is almost invisible and only the lit ground shows.
Plan for the uphill direction, because that is the harder case. If the run looks comfortable walking up, it will look good walking down. Practically this means keeping fixtures low, keeping them off the centerline of the path, and accepting slightly fewer of them than a flat path of the same length would take.
It also means the two sides of a path are not equivalent on a slope. Fixtures on the downhill side of a path sit lower relative to the walking surface and produce less glare uphill; fixtures on the uphill side sit higher and produce more. When in doubt, favor the downhill side. The general question of which side and what pattern to use is covered in our comparison of staggered versus straight lighting layouts.
Retaining walls and terraces
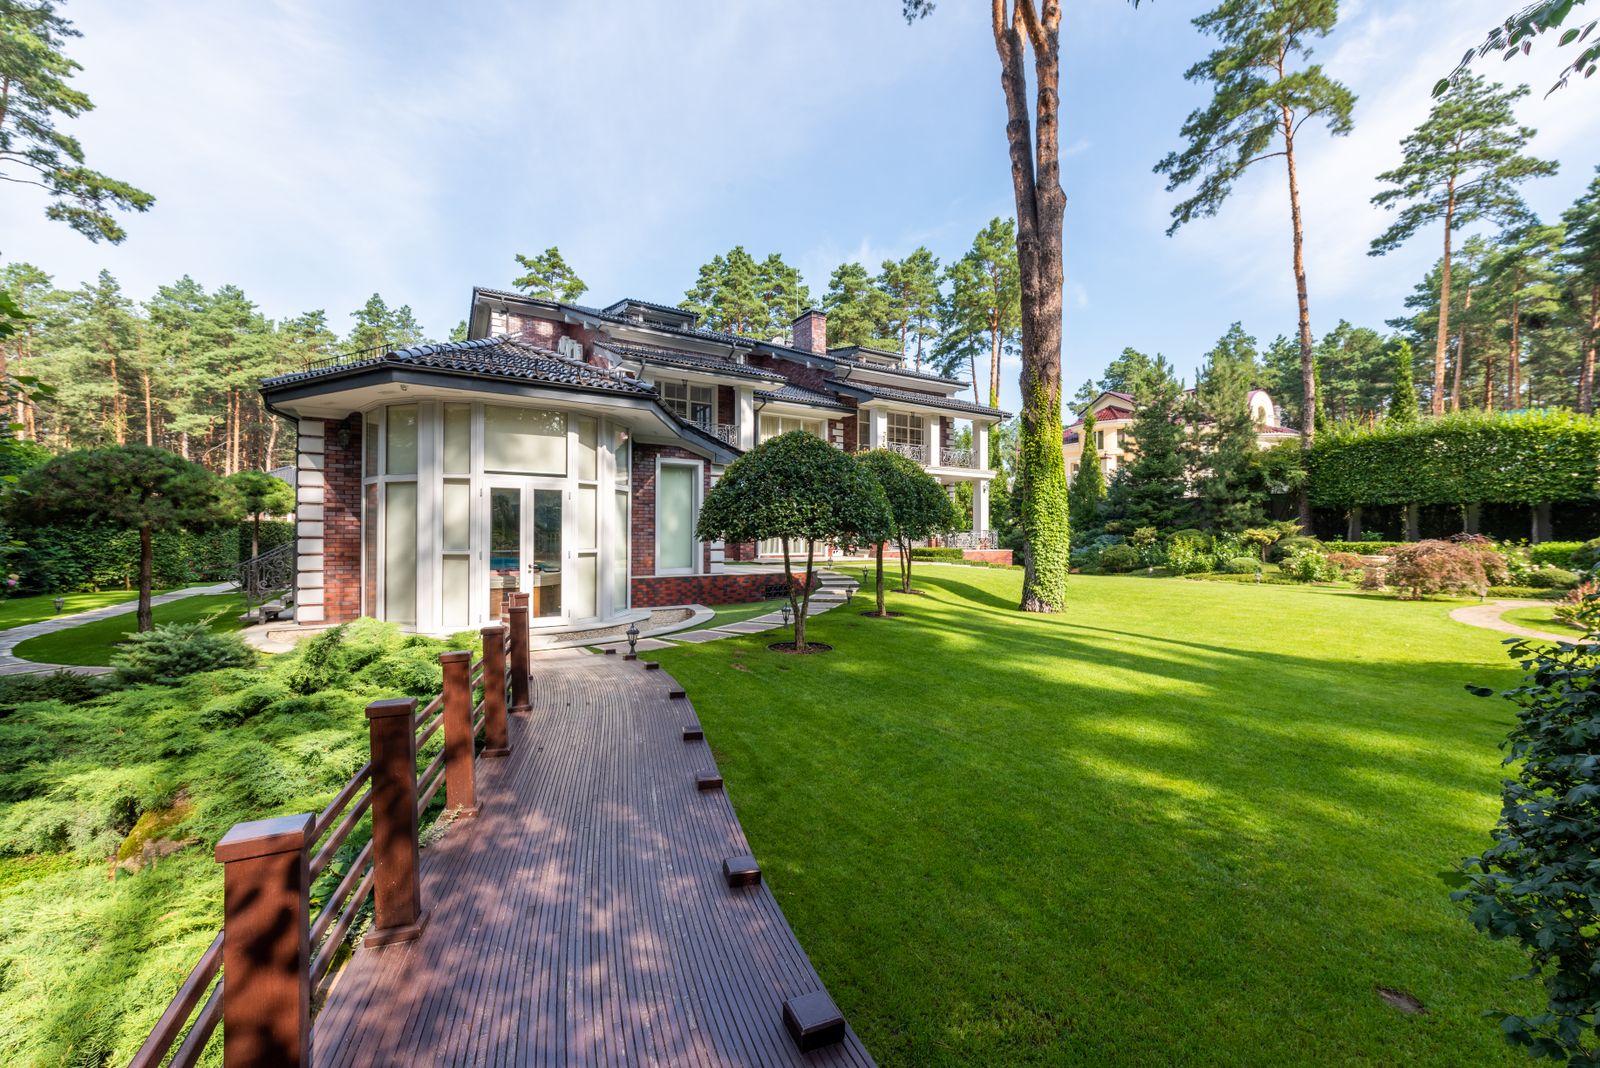
Photo by Max Vakhtbovych on Pexels
A retaining wall top is one of the best available locations in a sloped yard: it is level, it drains, the soil behind it is usually stable, and a fixture there lights both the wall face below and the walking surface above.
| Position | What it lights | Stability | Watch out for | |---|---|---|---| | Top of wall, set back a foot | Wall face and the terrace above | Excellent | Keep clear of the wall edge so soil does not slump | | Base of wall, in the bed | The wall face, upward | Good | Light escaping up past the wall | | Terrace edge | The terrace surface | Excellent | Foot traffic along the edge | | Slope face, mid-grade | The slope | Poor to fair | Runoff channels; needs planted cover | | Switchback inside corner | The turn | Very good | Usually the flattest spot on a slope |
Set fixtures back from a wall edge rather than right at it. The soil immediately behind a retaining wall is the most likely to settle, and a fixture at the very lip can end up tilting outward over a wall face.
Sun exposure changes on a slope too
A slope that faces away from the midday sun gets substantially less light than a flat yard at the same address, and a slope shaded by the house or a tree line can be in shadow for most of the useful charging hours. A north-facing bank in particular can be a poor site for solar fixtures even when the front yard is fine.
Check intended positions at midday and again in mid-afternoon before committing. If parts of the run sit in persistent shade, favor positions on terrace tops and wall crowns where the sky is open, and read our notes on choosing lights for partial-sun locations. A fixture with an automatic on/off sensor, like the Waterproof Solar Garden Pathway Lights with Automatic On and Off, will still switch itself on correctly in a shaded position — it just has less charge to work with, so placement for sun matters more than placement for convenience.
FAQ
Should the stake go in perpendicular to the slope or straight down? Straight down, always. Judge plumb against a vertical reference like a fence post rather than against the ground under your feet. A fixture perpendicular to a slope leans visibly and throws its light off the path rather than onto it.
My lights on the hillside keep washing out. What is happening? Water is running through those positions and carrying soil away from the stakes. Walk the slope after the next heavy rain, find the scoured channels, and move the affected fixtures a few inches onto the high side of each one. Planting groundcover on the slope prevents recurrence better than anything you do to the fixtures.
How many lights does a stairway need? One at the top, one at the bottom, and one at the midpoint of any flight longer than about four steps. Every landing and direction change gets its own. That is usually fewer fixtures than people expect, because the goal is revealing the step edges rather than flooding the stairs with light.
Is it worth lighting a slope that has no path on it? Usually not with path fixtures. Lighting a bare bank shows you the bank, which nobody walks on, and it puts fixtures in the worst possible position for runoff and stability. Concentrate the fixtures on the route people actually take and leave the slope face dark. Placement priorities are covered further in our pathway light placement answers.
A practical next step
Wait for the next real rainstorm before installing on a slope, then go out and photograph where the water ran. Those channels, and the flat spots between them, determine your fixture positions far more usefully than any spacing rule — and installing around them is the difference between a run that holds for years and one you are straightening every month.
Cover photo by Barbara Batári on Pexels.