How to Light a Path for Wheelchair and Stroller Use After Dark
Lighting a path for wheels is a different job from lighting a path for feet. A wheelchair user, or a parent pushing a stroller, needs the surface itself visible several feet ahead, needs the full width of the path kept clear of fixtures, and needs light that does not sit at seated eye level. Get those three things right and a path that was unusable after dark becomes routine.
The good news is that the fixtures themselves need no special features. What changes is where they go, how far back from the edge they sit, and which points on the route get priority.
Why wheels need different lighting from feet
A walking person scans the ground a step or two ahead and adjusts constantly. Small changes in surface are absorbed by the ankle without conscious thought.
Wheels do not absorb anything. A caster on a stroller or the front wheel of a manual chair stops dead against a half-inch lip, and the person pushing takes the shock. Recovery also takes longer: a walker steps around an obstacle in one movement, while a chair or a pram needs a wider arc planned several feet in advance. That means the useful lit distance ahead is longer for wheels, and the information needed is different — not "is there something there" but "where exactly does the surface change".
Two more differences matter after dark:
- Eye height. A seated person's eye line is around three to four feet from the ground. A fixture that is comfortably below a standing person's sight line can sit directly in a seated person's. Low fixtures aimed downward avoid this entirely.
- Hands. Both hands are usually occupied. Nobody is holding a phone torch, and nobody can steady themselves on a wall.
Where light matters most on a wheeled route
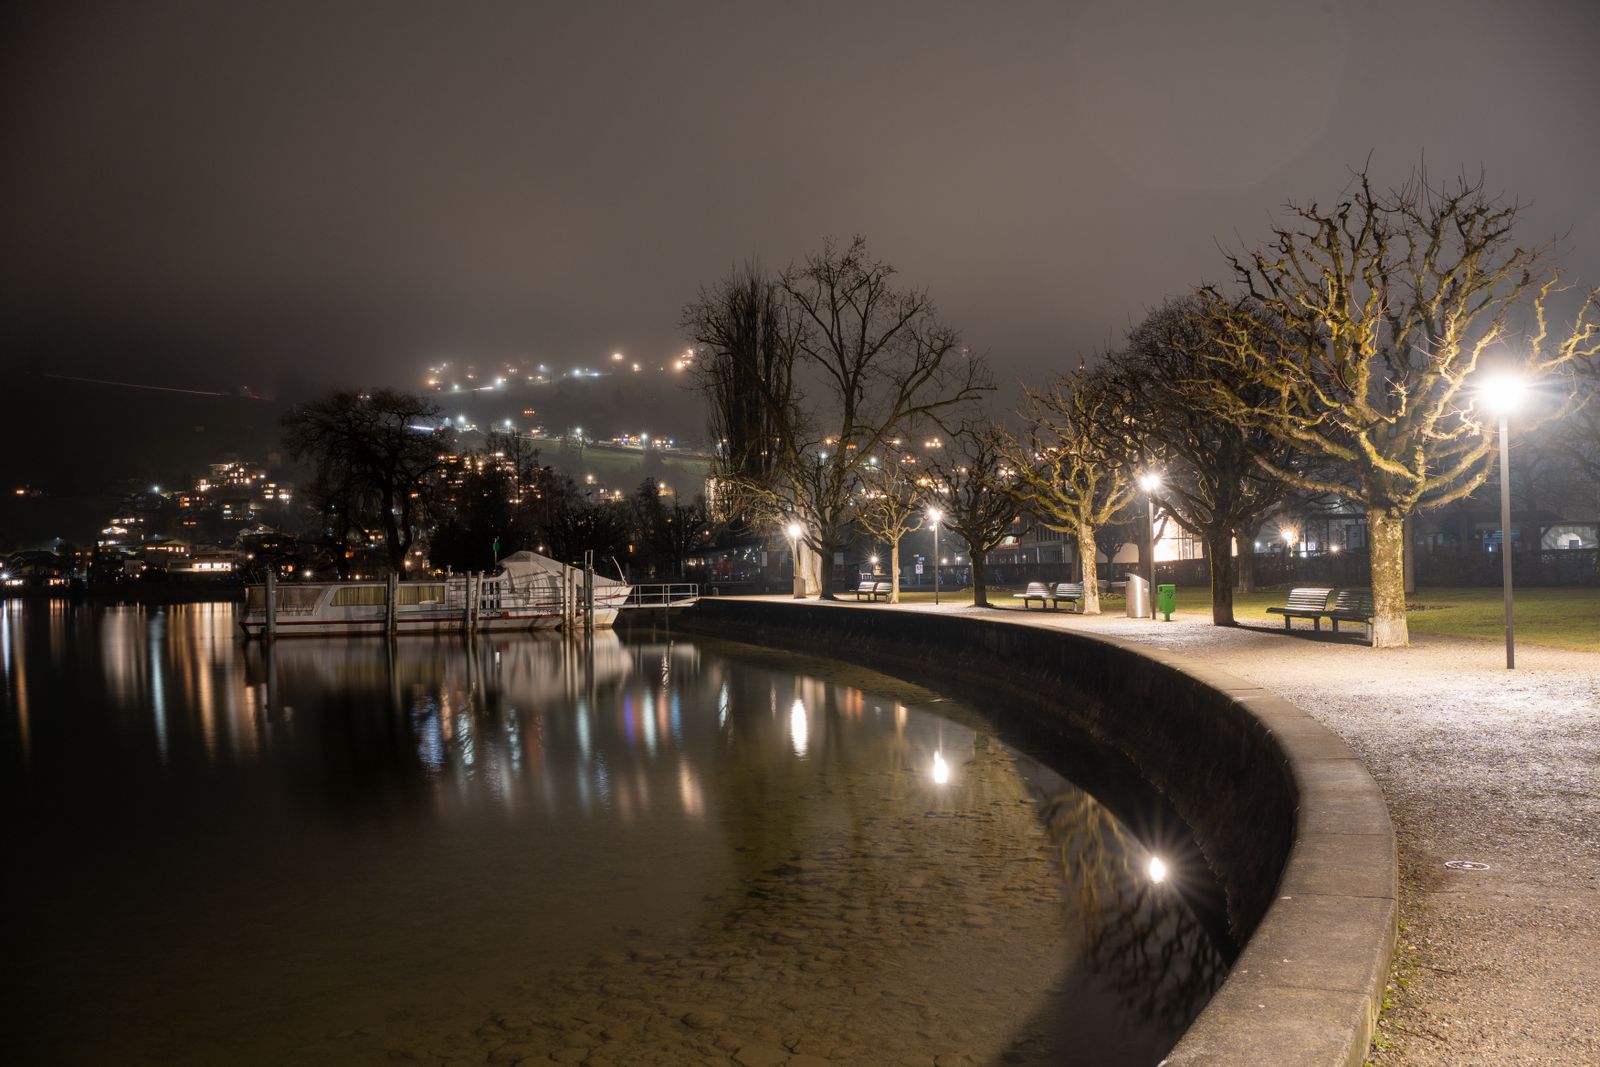
Photo by René Lussi on Pexels
Priority runs in this order, and it is not the same order as for a walking path.
For general spacing arithmetic along a run, the walkway planning guide covers distance against light count.
Step-by-step: lighting the route
Fixture placement clearances
| Route feature | Clearance from the path edge | Notes | |---|---|---| | Straight, level run | A hand's width beyond the widest wheels | Enough to keep casters clear | | Tight turn or corner | Roughly twice the straight-run clearance | Footrests and pram hoods swing wider than wheels | | Gateway or narrow point | Nothing within the opening at all | Light the approach instead, from before the gap | | Ramp or slope | Set well back on both sides | A wheel that slips sideways on a wet ramp needs empty margin | | Doorway or threshold | Outside the door's swing | The door is already the obstacle; do not add one |
What to avoid
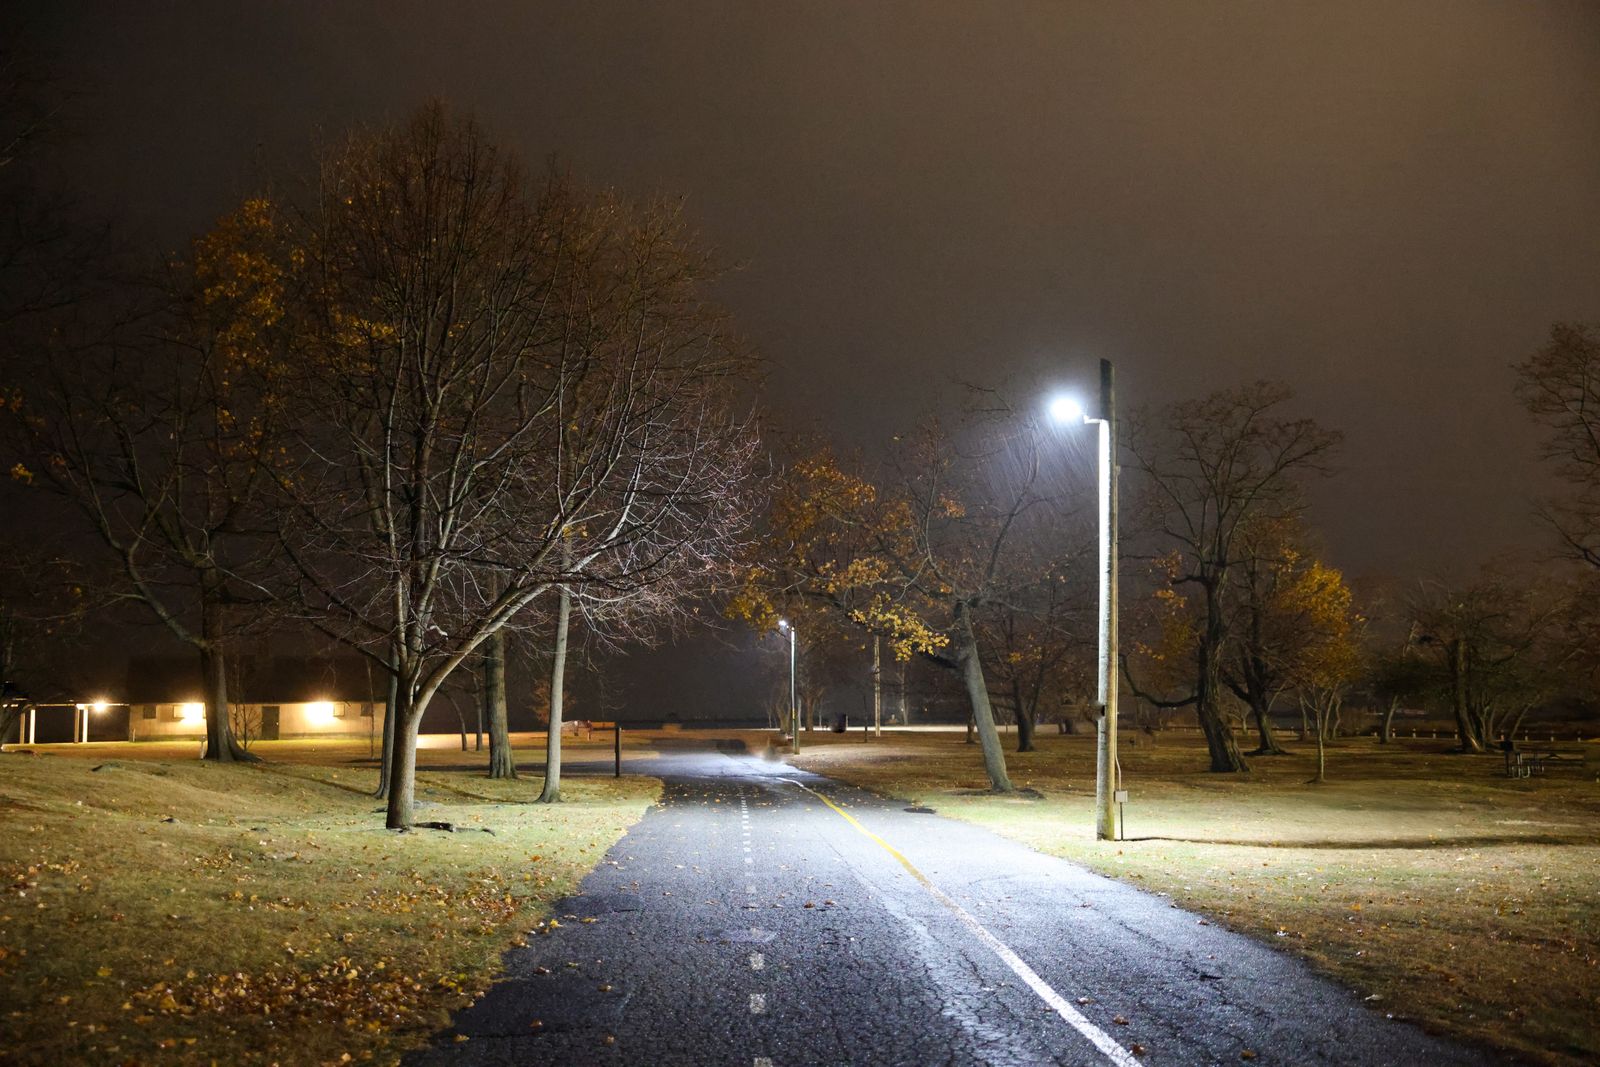
Photo by David Kanigan on Pexels
Bright, high-mounted floods. They dazzle a seated user directly and, worse, they wash out the shadows that make a lip or a joint visible. Even, low light that grazes across the surface reveals level changes better than bright light from above.
Fixtures in the walking and rolling line. A stake in the clear width is a hazard, not a help, and it will be knocked over within a month.
Cold, harsh light aimed outward. Keep the light on the ground. This is also the courteous approach to neighbors and wildlife, discussed in dark-sky-friendly garden lighting.
Seasonal gaps. A route someone depends on cannot be lit only in summer. Panels should sit in the most open sky available so winter charging holds up, and the ground itself needs seasonal attention — grit on a ramp, leaves cleared from a turn, and moss scrubbed off shaded paving before it becomes slippery.
Frequently asked questions
How far apart should lights be on a route used by a wheelchair? Closer than on a walking path, because continuous surface visibility is the goal rather than intermittent guidance. Aim for pools of light that touch or nearly touch along transitions and turns, and allow wider gaps on level straight sections. The general placement questions are answered in the pathway placement FAQ.
Do solar stake lights get knocked over by wheels? They can, which is why clearance matters more than any other factor here. Set fully outside the clear width and further back at turns, they are rarely touched. Set in the margin of the path itself, they get hit repeatedly.
Is low light enough, or does an accessible route need bright light? Even, low light on the surface usually outperforms bright light for this purpose. What a wheeled user needs is contrast at level changes, and grazing light from a low fixture creates that contrast. Bright overhead light flattens it.
What about a route that is used both day and night, in all weather? Prioritize the transitions and the turns, keep the clear width absolutely free, and check the route after rain and after frost as well as in the dry. Wet paving, wet ramps, and standing water all change how a surface behaves under wheels, and a lit route makes those conditions visible before they are underneath you.
Next step
Do the two-pass test this week: push the actual chair or stroller along the route in daylight and mark every point where the wheels resist, then repeat it at dusk and mark what disappears. Light those points first, keep every fixture outside the clear width, and check the whole run once from seated height before deciding it is finished.
Cover photo by Serena Koi on Pexels.