Lighting Gravel, Paver, and Deck Paths When There Is No Soil to Stake
A staked solar light needs ground to stand in, and gravel, pavers, concrete, and decking do not provide it. The answer is almost never to force a stake into the hard surface — it is to find the soil that borders it. Nearly every hardscaped path has a planting bed, a lawn edge, a joint, or a gap within a foot of it, and that strip is where the fixtures belong.
This covers the four common hard surfaces, where the usable ground is on each one, and what to do when there genuinely is none.
Why staking into the path surface itself fails
Gravel looks like it should work and does not. Loose aggregate has no cohesion, so a stake holds by friction against stones that shift every time someone walks by. A fixture set in gravel is plumb on installation day and leaning within two weeks, and pushing it deeper only buries it further in material that continues to move.
Pavers, concrete, and decking are the opposite problem: they are solid, and getting a stake through them means drilling, which turns a reversible install into a permanent alteration and creates a water intrusion point in a surface engineered to shed water.
So the working rule for all hard surfaces: light the path from the edge, not from within it.
Gravel paths: stake just outside the aggregate
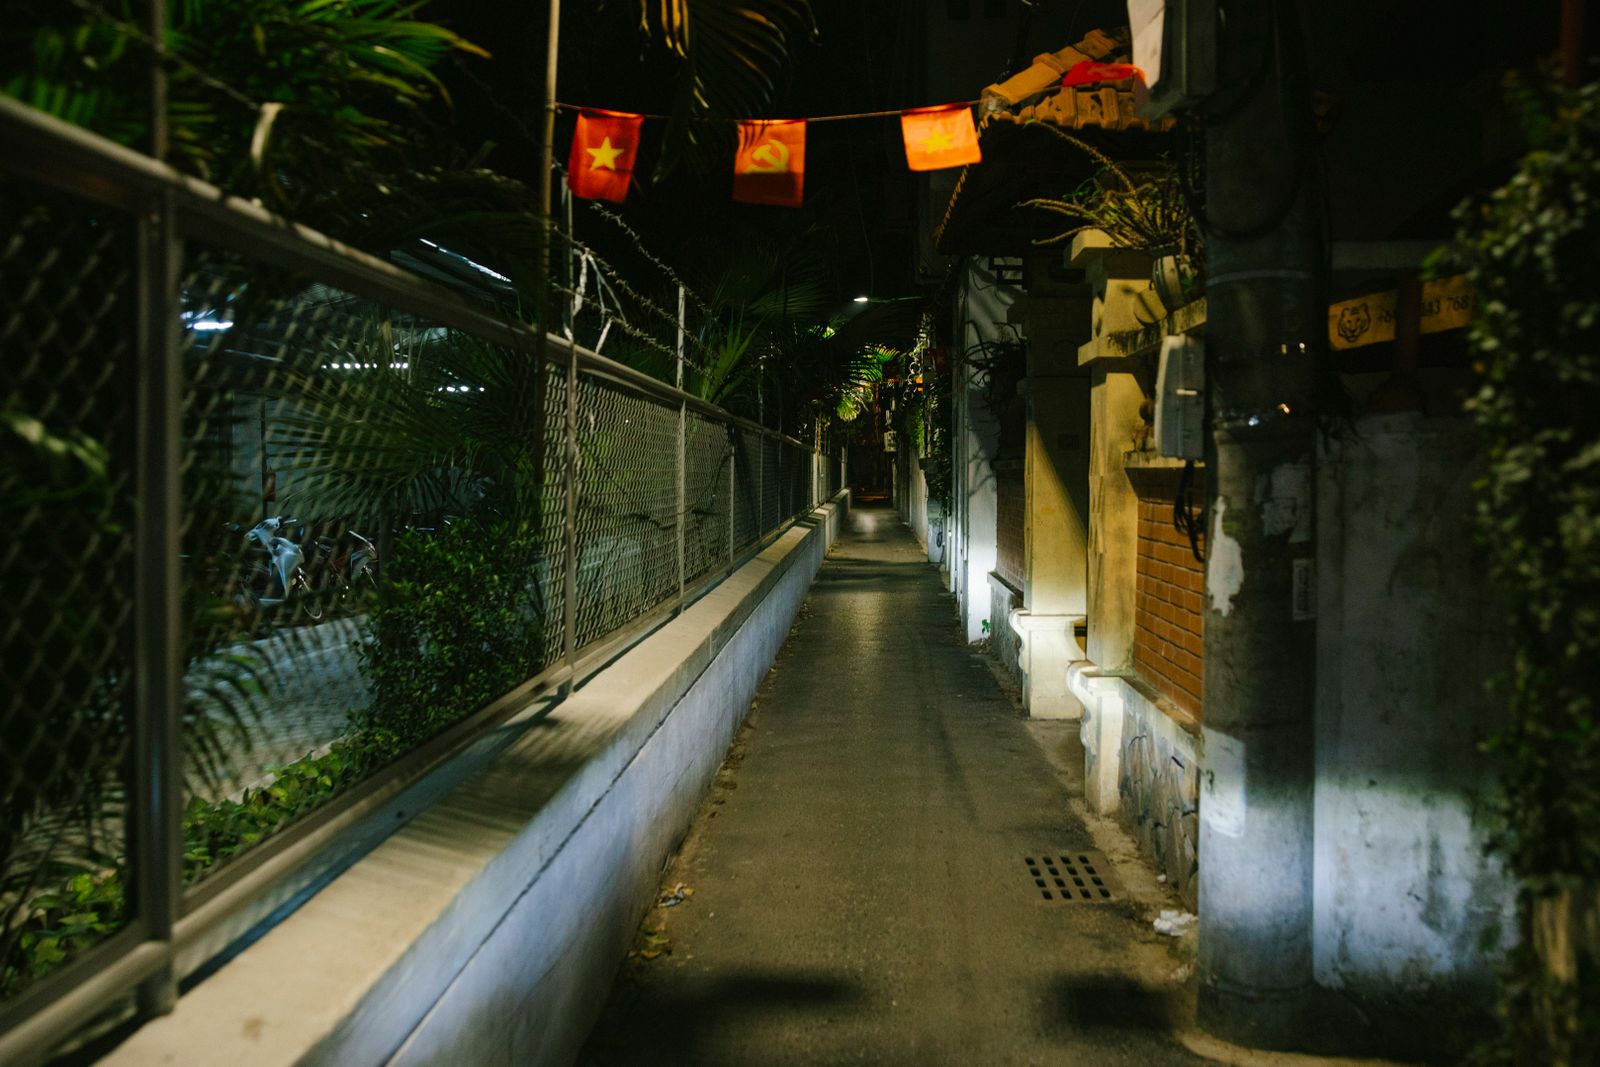
On a gravel path there is nearly always a border — a soil shoulder, a lawn edge, a steel or timber edging strip, or a planting bed. Place fixtures in that soil, an inch or two outside the gravel line.
This works better than it sounds, because a gravel path is usually narrow and the light from an edge-mounted fixture crosses it easily. Visually, a line of fixtures sitting just off the aggregate reads as cleaner than fixtures standing among the stones, and it keeps them out of the way when you rake.
Practical points for gravel:
- Rake away from the fixtures, not toward them. Gravel migrates. Raking toward a fixture builds a mound against the panel over a season.
- Expect gravel to creep into the soil border. Every few months, pull the stray stones back into the path so your fixture line does not gradually end up standing in aggregate anyway.
- Watch for weed fabric. Many gravel paths sit on landscape fabric that extends past the aggregate. A stake can push through it, but the fabric then holds the stake loosely. Cut a small slit rather than tearing a hole.
- Use the edging as your alignment guide. A straight edging strip is the easiest way to get a visually straight run of lights, which matters more to how the path looks than exact spacing does.
Paver and flagstone paths: use the joints and the shoulders
Pavers give you three options, in order of preference.
What to avoid: prying up a paver to create a spot. Removing a paver disturbs the compacted bedding layer, and the paver rarely sits flush again.
Flagstone paths in particular reward light from a low angle, because the light rakes across the uneven surface and makes the height differences between stones visible. That is exactly what you want on a surface where the trip hazards are the stones themselves. More layout thinking is in our collection of creative layout ideas for solar path lights.
Decking and raised walkways
A deck has no ground at all, and the space beneath it is usually shaded, so putting a solar fixture there defeats the purpose. Two approaches work.
Place fixtures in the soil at the base of the deck steps and along the ground-level approach, and let the deck itself be lit by whatever is already at the building. This keeps the solar fixtures in real soil where they belong and puts light exactly at the step transition, which is where people miss their footing.
Alternatively, use planters on the deck. A pair of substantial pots flanking the stairs, each with a staked fixture, gives you light at the top of the steps without attaching anything to the structure. The panel gets full sky exposure, which the underside of a railing would not.
Screwing or clamping fixtures to deck boards or railings is possible with some products but it is a different category of hardware than a staked path light, and it puts fasteners in a surface you would rather keep intact.
Concrete walks and driveway aprons
Poured concrete is the least flexible surface but usually the easiest to light, because concrete walks almost always have a soil strip on at least one side. Stake there, a few inches off the edge, and the light lands on the concrete where you need it.
Two considerations specific to concrete. First, keep fixtures out of the snow-clearing line — anything within a shovel's throw of a concrete walk gets buried or struck in winter. Second, concrete reflects more light than soil or mulch, so fixtures beside a light-colored concrete walk produce noticeably more usable brightness than the same fixtures beside a dark mulch bed. You can often use fewer of them.
Surface comparison
Photo by Nishino Minase on Pexels
| Surface | Where to stake | Difficulty | Stability | Notes | |---|---|---|---|---| | Gravel | Soil shoulder outside the aggregate | Easy | Good in the shoulder, poor in the gravel | Rake away from fixtures | | Pavers | Adjacent soil, or a planting joint | Easy to moderate | Good | Do not lift a paver to make room | | Flagstone | Soil joints between stones | Moderate | Fair, joints are shallow | Low-angle light reveals uneven stones | | Poured concrete | Soil strip beside the walk | Easy | Good | Light surface reflects well; watch snow clearing | | Decking | Soil at the base of steps, or planters | Easy | Good | Avoid mounting under the deck; no sun | | Artificial turf | Soil beneath, through a cut slit | Moderate | Good | Cut a slit, do not tear |
Where the panel can see the sky matters more than where the light lands
The constraint people forget on hardscape is charging. Edge positions along a paved path are often tight against a wall, a fence, or a hedge, and those are the shadiest spots available. A fixture that looks well placed at noon may be in shade for six hours of the day.
Before committing to a line, check the intended positions in the middle of the day and again in late afternoon. If the whole border is shaded, move the run to the sunnier side of the path even if that side is slightly less convenient, or use planters to reach a sunnier position. Our pathway light placement answers go into the sun-versus-position trade-off in more detail.
FAQ
Can I put a solar light directly in gravel? You can insert it, but it will not stay upright. Loose aggregate shifts underfoot and offers no grip, so the fixture leans within a couple of weeks. Stake into the soil shoulder just outside the gravel instead; the light still covers the path and the fixture stays plumb.
Do I need to drill into my patio to add path lighting? No, and it is worth avoiding. Drilling a paved surface is permanent and creates a water entry point in a surface built to shed water. Heavy planters filled with soil solve the same problem, hold a stake securely, and can be repositioned.
Will fixtures in planters charge properly? Usually better than edge positions, because a planter can be placed where there is open sky rather than where there happens to be soil. The one thing to check is that the pot is heavy enough not to tip, since a lightweight plastic planter in an exposed spot will blow over.
How do I get a straight-looking line of lights along a curving gravel path? Follow the edging rather than measuring from the path center. The eye reads a run of lights against the path edge as correct even when the spacing varies, and it reads inconsistent distance from the edge as sloppy even when spacing is perfect. Consistency of setback matters more than consistency of spacing, a point also covered in our guide on positioning path lights for curb appeal.
A practical next step
Walk the length of your hard path with a screwdriver and probe the border every few feet. Mark the spots where it goes in easily and the spots where it hits base material. That map of usable ground, rather than a spacing rule, is what should determine where your fixtures go on a hardscaped path.
Cover photo by Warren Griffiths on Pexels.