
How to Install Solar Pathway Lights for Maximum Brightness and Coverage
Adding outdoor landscape lighting is one of the quickest, most impactful ways to enhance your home's curb appeal, boost walkway safety, and enjoy your outdoor living spaces after sunset. Solar pathway lights are the ultimate DIY solution—they require zero electrical wiring, add nothing to your monthly power bill, and turn on automatically every evening.
However, simply pushing stakes into the dirt randomly often leads to dim lights, broken spikes, or premature failure. Knowing how to install solar pathway lights correctly ensures your walkways stay warmly lit all night long. In this guide, we will walk you through site planning, soil preparation, tool-free setup, and fine-tuning your fixtures for maximum light output.
---
Pre-Installation Planning: Sunlight & Spacing for Best Results
Before opening your lighting pack and driving stakes into the ground, a little upfront planning ensures your lights perform consistently every night.
Mapping Sun Exposure Across Your Walkway
Solar lights rely entirely on photovoltaic cells to convert sunlight into stored energy in rechargeable batteries. To achieve a bright 8 to 12 hours of nighttime run-time, standard photovoltaic panels require 6 to 8 hours of direct, unshaded sunlight daily.Observe your pathway at different times throughout the day:
- Watch out for obstacles: Deep shade cast by roof eaves, tall privacy fences, dense tree canopies, or large shrubs will restrict solar charging.
- Seasonal shifts: Remind yourself that sun angles change between summer and winter. A spot that receives direct sun in June might sit in shadow by October.
- Avoid artificial light sources: Do not place solar lights directly beneath streetlights or bright porch floodlights. Ambient ambient light can trick internal sensors into thinking it is daytime, preventing them from turning on.
Determining Ideal Light Spacing and Coverage
Proper spacing prevents two major design flaws: dark, unsafe gaps along your walkway or an overly crowded, cluttered garden edge. As a general rule, place solar pathway lights 6 to 8 feet apart.You can arrange lights in two primary layouts:
Refer to the guide below to determine optimal spacing based on pathway width and light output:
| Pathway Width | Light Output (Lumens) | Ideal Spacing Distance | Installation Pattern | | :--- | :--- | :--- | :--- | | Narrow (2 - 3 ft) | 5 - 10 Lumens | 6 to 8 feet apart | Single side or wide staggered | | Standard (3 - 5 ft) | 10 - 25 Lumens | 5 to 7 feet apart | Alternating / Staggered | | Wide Driveway / Entry (6+ ft) | 25+ Lumens | 4 to 6 feet apart | Dual-side staggered |
For a deeper dive into measuring distances for complex walkways, consult our complete spacing guide for solar pathway lights.
---
Tools and Soil Preparation for Easy Stake Insertion

Photo by Thang Nguyen on Pexels
Installing ground stakes should never feel like a wrestling match with the earth. Forcing plastic spikes directly into dry, hard dirt is the number one cause of snapped components.
Preparing Hard, Clay, or Dry Soil
If your yard features compacted dirt, heavy clay, or gravelly soil, pre-softening the ground is vital.- Soak the installation area: Use a garden hose or watering can to thoroughly saturate the soil where each light will stand. Let the water soak in for 15 to 30 minutes so the dirt becomes pliable.
- Create pilot holes: Never strike solar fixtures with a metal hammer. Instead, drive a long screwdriver, metal rod, or narrow garden trowel into the softened soil to create a pilot hole matching the stake's depth.
Assembling Your Solar Pathway Light Units
Gather your tools beforehand so installation goes smoothly.Recommended Installation Tools & Materials:
- Garden hose or watering can
- Screwdriver or narrow garden trowel (for pilot holes)
- Microfiber cloth
- Measuring tape or yardstick (optional)
Pre-Insertion Checklist:
- [ ] Soil is damp and softened
- [ ] Pilot holes are prepared
- [ ] Solar light caps, poles, and spikes are unboxed and clear of plastic wrappings
- [ ] Pull-tabs are removed or internal switches are toggled to "ON"
Step-by-Step Guide: Installing Your Solar Pathway Lights
Follow these simple steps to install your outdoor lighting safely and efficiently.
Step 1: Unboxing and Battery Activation
Unbox your lighting kit carefully. High-quality outdoor fixtures, such as the Waterproof Solar Garden Pathway Lights with Automatic On and Off (Pack), feature weatherproof housings and built-in dusk-to-dawn sensors.Remove the solar top housing to access the battery compartment underneath. You will usually find either a pull-tab blocking battery contact or a small ON/OFF toggle switch.
- Remove and discard any clear pull-tabs.
- Toggle the power switch to the "ON" position. If the light remains switched off, the automatic sensor will not trigger light at night, nor will it collect energy properly during daytime charging.
Step 2: Preparing the Stake and Pole
Most pathway light stakes are shipped inverted inside the extension pole for protection during transport.Step 3: Securing the Stake into the Ground
With your pre-drilled pilot hole ready, hold the assembled light firmly by the lower post (near the ground point) rather than pressing down on the top solar panel glass.Pro-Tip: If you encounter resistance from a rock or root, pull the stake out immediately. Re-probe the pilot hole rather than forcing the light downward.
Step 4: Aligning Panels for Maximum Solar Absorption
Once the light stands firmly, inspect the top solar panel cap. Angle or align the top face toward the open sky, prioritizing southern sky exposure whenever possible (for homeowners in the Northern Hemisphere). Ensure surrounding plant foliage does not overlap or cover the solar glass surface.---
Testing and Fine-Tuning Your Placement
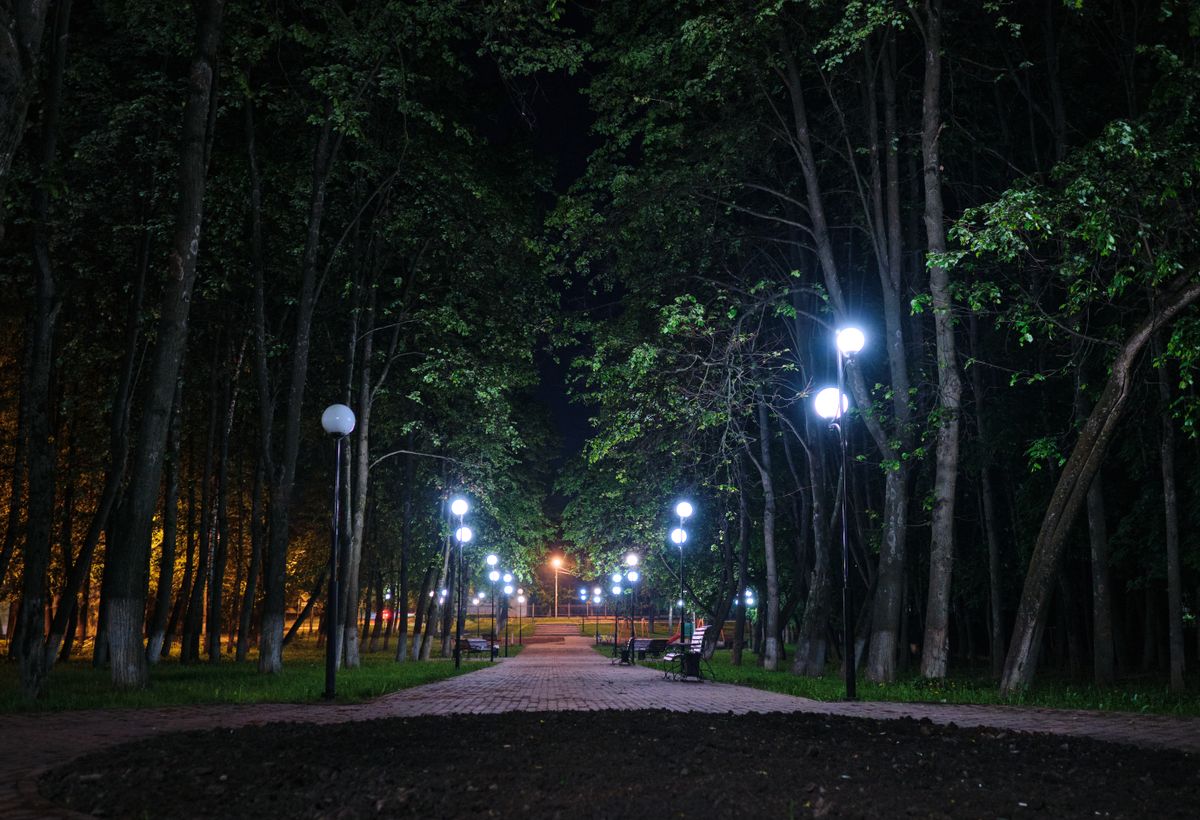
Photo by ervin.fon Trichev on Pexels
Once all lights are mounted in the soil, complete a quick verification check to ensure maximum brightness and seamless cover.
Initial Charge and Nighttime Testing
Even though new lights come with a factory pre-charge, standard best practice is to give them a full 8 to 12 hours of direct sunlight before evaluating nighttime performance.Quick Sensor Test: Want to make sure the light functions immediately? Cover the top solar panel completely with your hand or a dark cloth. The photo sensor will detect fake "darkness" and automatically illuminate the LED within seconds. If the light fails to illuminate after a full day's charge, review our guide to troubleshoot automatic sensor issues.
Adjusting Spacing to Eliminate Dark Spots
Wait until nightfall and walk down your pathway. Look for areas along the walkway that feel under-lit or suffer from dark gaps between light pools.- Simply lift the ground stakes, loosen adjacent soil, and shift fixtures closer together or further apart as needed.
- Verify that neighbor porch lights or post lamps do not cast ambient brightness over the solar caps, which could cause unwanted flickering.
Maintenance Tips to Keep Your Lights Operating Brightly
Solar garden lights require minimal upkeep, but a few quick seasonal maintenance habits will extend their operating life for years.
Keeping Panels Clean and Free of Debris
Dust, pollen, water spots, and fallen leaves build up on solar panel glass, blocking up to 30% of incoming sunlight over time.- Wipe the top solar panel clean once a month using a damp microfiber cloth and mild soap.
- Avoid harsh chemical cleaners or abrasive scrubbers that scratch solar coatings.
Seasonal Care for Year-Round Performance
- Autumn & Winter: Clear away heavy snow accumulations or wet autumn leaves sitting on top of light heads.
- Freezing Conditions: Premium waterproof fixtures withstand snow and ice easily. However, if your area experiences extreme ground freezing that heaves the soil, consider storing stakes indoors during winter months or resetting them in early spring.
- Battery Replacement: Rechargeable AA/AAA Ni-MH batteries inside solar lights typically last 1 to 2 years before losing total capacity. Swap in fresh rechargeable batteries to restore full brightness.