
The Complete Guide on How to Light Up a Garden Walkway
The Complete Guide on How to Light Up a Garden Walkway
Properly illuminating an outdoor path transforms your landscape, adding both safety and charm. When learning how to light up a garden walkway, you must consider visibility, fixture placement, power sources, and aesthetic appeal. Beautifully lit paths allow family and guests to navigate steps, turns, and ground level changes comfortably after sunset.
Understanding Walkway Illumination Basics
Outdoor pathway lighting should complement your landscape without overwhelming it. Bright, glaring spotlights can cause eye discomfort at night, whereas softer landscape lighting creates an inviting ambience. For standard garden paths, a subtle light output of 10-15 lumens per fixture provides adequate visibility without creating harsh shadows.
Key goals for walkway lighting include:
- Defining the borders of your garden paths.
- Highlighting hazards, such as steps or curves.
- Enhancing overall curb appeal and outdoor ambiance.
Choosing Solar vs Wired Options
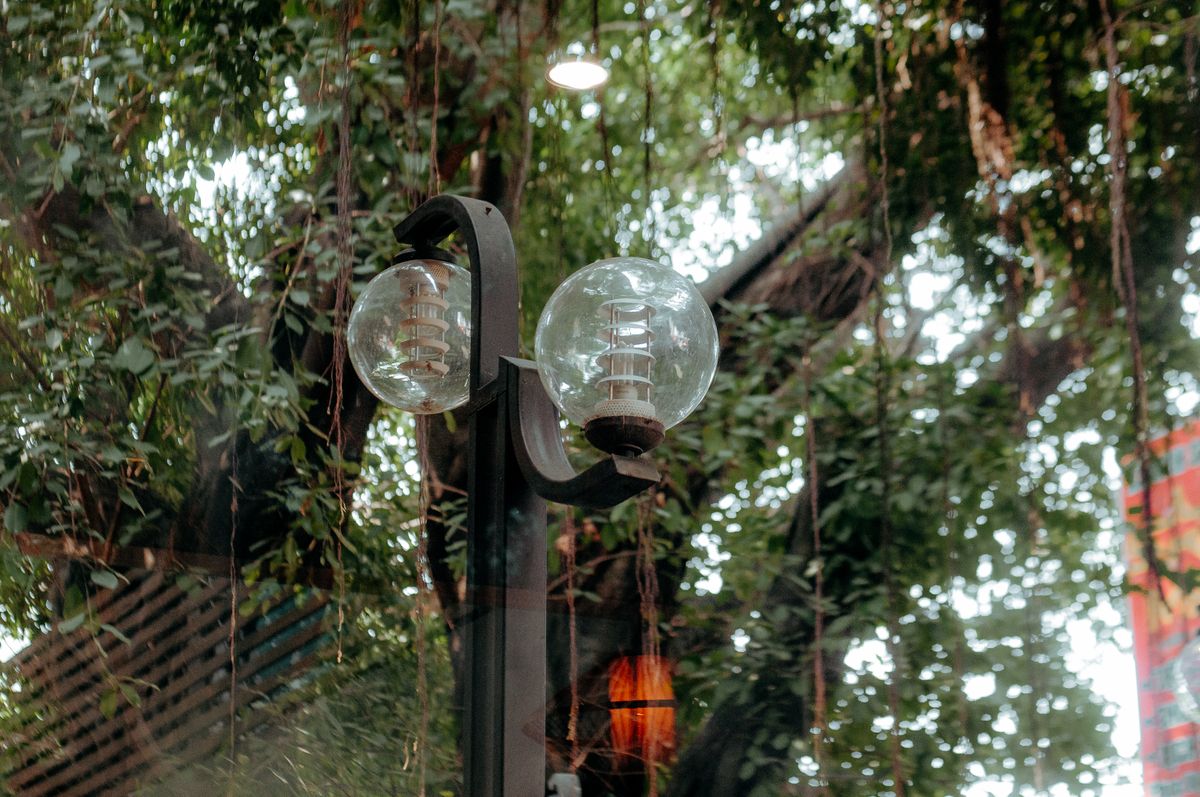
Photo by 🇻🇳🇻🇳Nguyễn Tiến Thịnh 🇻🇳🇻🇳 on Pexels
When evaluating power sources for landscape lighting, home gardeners generally choose between traditional wired systems and modern solar powered solutions. Wired systems often require underground trenching, transformers, and professional electrical help, leading to higher setup fees.
In contrast, solar powered fixtures operate independently using renewable sunlight. The Waterproof Solar Garden Pathway Lights with Automatic On And Off offer a zero-dollar estimated install cost ($0 DIY), making eco-friendly solar fixtures a cost-effective option for homeowners who prefer easy installation.
Key Placement and Spacing Strategies
Proper fixture placement ensures consistent lighting without dark gaps or harsh light overlap. A common mistake is placing fixtures directly opposite each other in straight lines, which can create a run-way effect. Instead, stagger lights along both sides of your path.
- Optimal Spacing: Position lights roughly 6-8 feet apart to achieve even coverage.
- Pathway Edges: Keep fixtures slightly offset from grass borders to prevent damage from lawnmowers.
- Focus on Hazards: Place extra focus near elevation changes, stepping stones, or garden entrances.
Features to Look For in Outdoor Fixtures

Photo by Mehmet Kaya on Pexels
To ensure durability and ease of use, select fixtures designed for year-round outdoor conditions. Look for the following essential qualities:
Installation and Maintenance Tips
Installing solar pathway lights is simple and requires no electrical experience. Insert the ground stakes 4-6 inches into soft soil to ensure stability during windy weather. If your soil is hard or compacted, dampen it with water or create pilot holes beforehand to avoid breaking the ABS Plastic stake.
Position solar panels where they receive full sunlight for a charging time of 6-8 hours daily. Adequate daylight exposure ensures a full battery run time of 8-10 hours every night. Clean solar panels periodically with a damp cloth to clear away dust, leaves, and dirt that could hinder charging efficiency.
Related in this cluster
- How to Install Solar Pathway Lights on a Garden Walkway
- Solar vs Wired Walkway Lights: Choosing the Right Option for Your Garden
- Why Low Lumens Walkway Lighting Is Better for Garden Accent Illumination
- Frequently Asked Questions About Solar Garden Walkway Lighting
- 5 Mistakes to Avoid When Spacing Garden Pathway Lights
- How Automatic Solar Sensors Work for Outdoor Pathway Lighting